
This article is intended users under the Basil Advanced plan. Basil Simple users can refer to this article.
Account Owners and Admin Team Members can set up working spaces in Basil to collaborate with their Clients. These working spaces are called ‘Clients’ in Basil. A Client can be created as an Individual, Business Owner, or Corporation (with the option to add more types). Each Client in Basil has Workspaces that contain folders and files.
To add a Client:
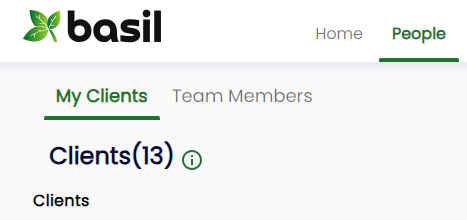
- Click the People tab at the top, then the ‘My Clients’ subtab, click ‘+ Add’ at the top-right, and then ‘Client’.

- You’ll be presented with the Add New Client window. You can use one of two modes:
- Simple Client - This option requires less fields to be completed and is designed for quickly and easily making a new Client with one default Workspace.
- Only the Client Name is required.
- (OPTIONAL) You may now choose to add a Primary User, this user will have access to the Client Workspace and has permission to upload files, delete files, and add Client Users to the Workspace. A Primary User is usually the Client Owner or Administrator. If you choose to add a Primary User, you may send the invite immediately by checking the 'Send Invite' box or wait and follow the instructions below to add a Primary User and send the invite later.
- Click ‘Add’ to create your new Client. You may now proceed to adding files if you wish.

- Advanced Client - This provides more options to configure, such as Workspaces, Client Types, and Client Users.
- Simple Client - This option requires less fields to be completed and is designed for quickly and easily making a new Client with one default Workspace.
- Here you can type the Client name and select the Client Type from the dropdown menu (only in Advanced Mode).

- Individual - used for a single person or head of a household whose bookkeeping or financial documents you work on.
- Business Owner - used for a single person who owns one or more Businesses. Each business may be a Workspace.
- Corporation - used for multiple people who oversee one or more subsidiaries/divisions. Each subsidiary/division may be a Workspace.
- Simple - only used for the ‘Simple Client’ mode.
- Custom Type - The Basil Account Owner can go to Settings to set Custom Client Types. Those types will then be available for all Team Members to assign to Clients.
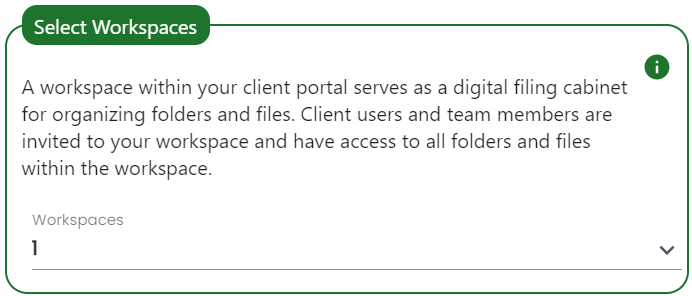
- If you have set up Root Workspaces, when you add a new client you’ll have the option to associate this new client with those Root Workspaces. If you have set up a Root Workspace to be assigned to All Clients, then that Root Workspace will appear here as well listed as a “Default Workspace”.

- You’ll also be asked how many standard Workspaces this Client will need. One Workspace is required by Basil in order to share files and collaborate, but you can have more than one depending on the work to be done with the Client. Click the 'i' icon for more information regarding Client Workspaces.
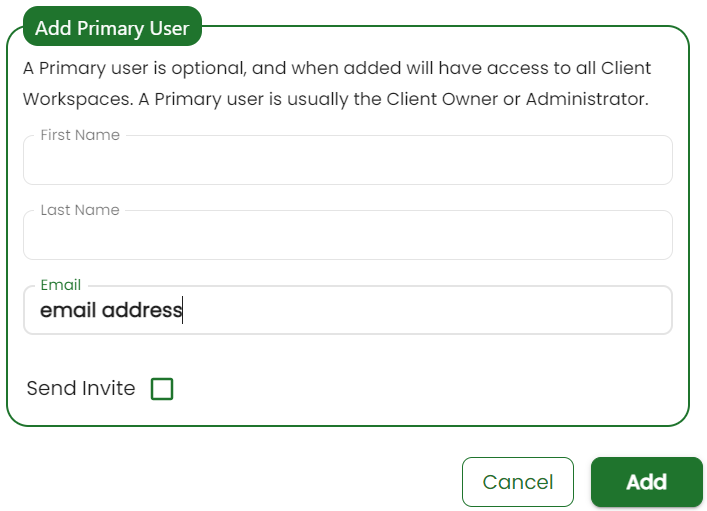
- (OPTIONAL) You may now choose to add a Primary User, this user will have access to all Client Workspaces and has permission to upload files, delete files, and add Client Users to any Workspace. A Primary User is usually the Client Owner or Administrator. If you choose to add a Primary User, you may send the invite immediately by checking the 'Send Invite' box or wait and follow the instructions below to add a Primary User and send the invite later.
- Click ‘Add’ to create your new Client.
- If your new Client has one (1) Workspace, you will be brought back to the “My Clients” screen. You may begin your work for the Client and will now find them in the Files tab where you can start adding folders and files.
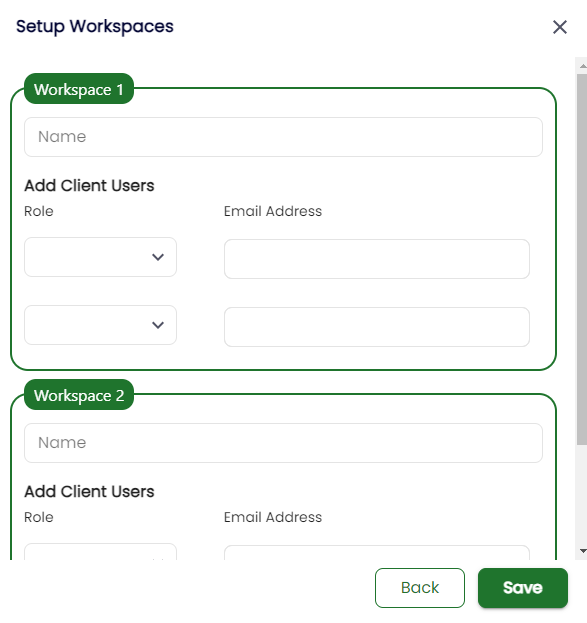
- If your new Client has two (2) or more Workspaces, you will be presented with the “Setup Workspaces” window. Here, you’ll need to name each of the Workspaces. You can also add up to two (2) Client Users to each Workspace directly from this window. When finished, click ‘Save’ and you will be brought back to the “My Clients” screen. You may begin your work for the Client and will now find them in the Files tab where you can start adding folders and files.
To create additional Client Workspaces:
If you created your Client and realize later that you need an additional Workspace, you can add more at any time.
- First, go to the Files Tab and locate the Client that needs a new Workspace.
- Next, view the Client’s existing Workspace(s).
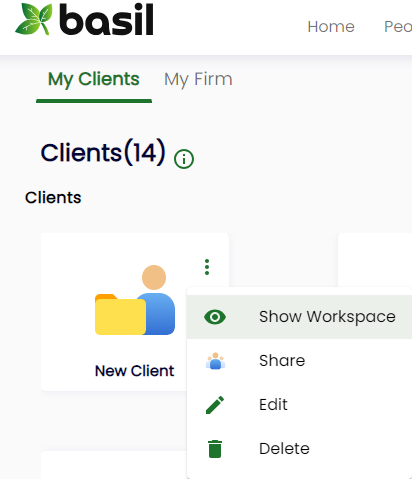
- If the Client has one (1) existing Workspace: click on the three-dot menu of the Client and select ‘Show Workspace’. Then click, ‘yes’ to confirm that you want it to be seen (by default, Clients with only one Workspace have that Workspace automatically hidden for faster navigation). Click the Client name/icon.
- If the Client has two (2) or more existing Workspaces: click the Client name/icon.
- If the Client has one (1) existing Workspace: click on the three-dot menu of the Client and select ‘Show Workspace’. Then click, ‘yes’ to confirm that you want it to be seen (by default, Clients with only one Workspace have that Workspace automatically hidden for faster navigation). Click the Client name/icon.
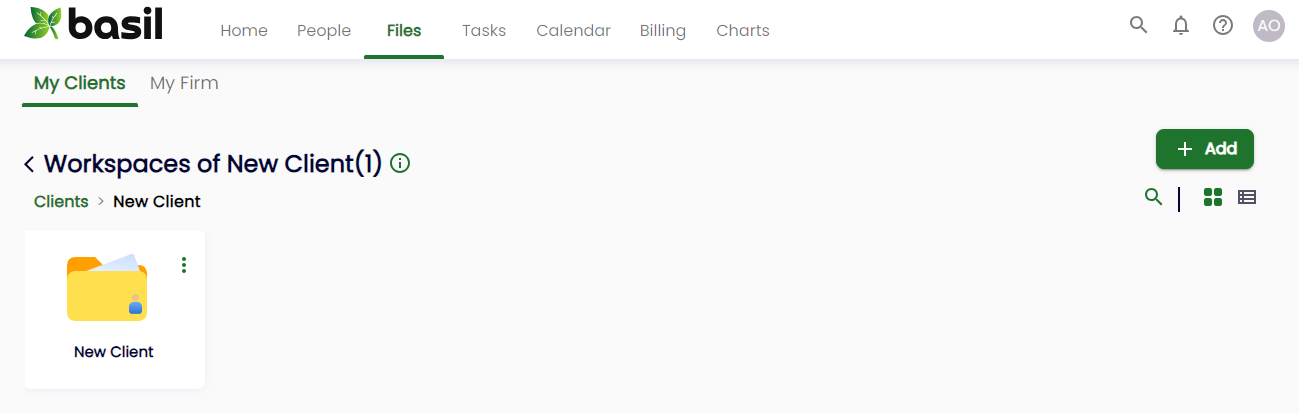
- Now, you’ll see their existing Workspace(s) and can click the ‘+ Add’ button to create a new Workspace.
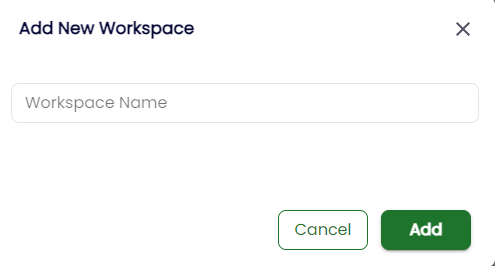
- The “Add New Workspace” window will pop-up where you can name the new Workspace. Click ‘Add’ when finished.

Congratulations! You have successfully added a Client and Workspaces to your Basil account. You may now access this Client's folders (internal and external) and create/upload folders and files for them.
If you chose to not add or invite a Primary User while creating your Client, you can follow the steps below to do so after the Client has been created.
To invite a Primary User:
- Find the Client you wish to invite a Primary User to in the ‘My Clients’ section of the People tab.
- If you have not yet added a Primary User, click the three-dot button for the Client and select ‘Edit’. Add the user’s info and check the ‘Send Invite’ box, then click ‘Update’. You have successfully added and invited a Primary User to this Client in Basil.
- If you have already added the Primary User when you added the Client and just need to send the invite, follow the steps below.
- On the “My Clients” page, go to the top right of the screen and switch to the “List View” by clicking on its icon.

- Click the name of your Client.
- Click on the three-dot button across from the Primary User’s row and select ‘Send Invite’.

- The client will receive an email with a link for them to join your Basil.


Please note that the email address you use to invite the Client needs to be the same email address they use when registering for Basil or they will not be added as one of your Clients in your account.
Client Folders
Clicking on the icon/name of your newly created Client in the Files tab (If there is only one Workspace created) or the icon/name of the Client Workspace will take you to the page where you will find two folders that were automatically created for you to use marked ‘Internal’ and ‘External’.
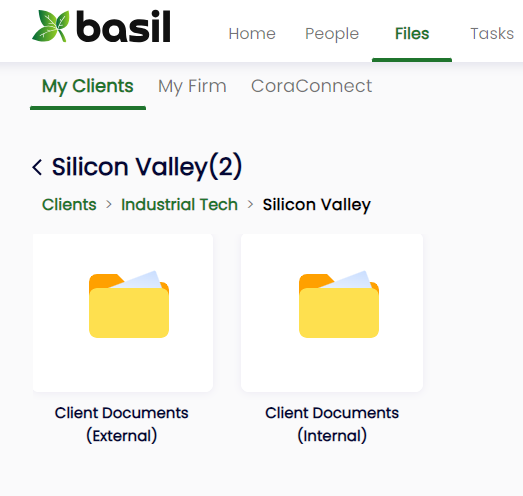
Internal Folder: can only be accessed by the Account Owner and their Team Members. It is used for storing working documents that pertain to that particular Client. The contents of the Internal Folder can not be seen by any Client Users.
External Folder: can be accessed by the Account Owner and Client Owner/Primary User, as well as any Team Members and Client Users that were invited. It is used for exchanging documents with Clients. Account owners may share documents like Agreements, Tax Returns, Check Lists, etc. with Clients. Clients can share documents required for tax preparation like W2s, 1099s, P&L statements, Income and Expense statements, plus much more with the Account Owner and Team Members.
You can add documents and folders to both the Internal and External folders by clicking on their icon/name. You can view the following help guide for instructions on how to upload folders and files to Basil: Create and Upload Folders and Files in Basil.
Inviting Client Users to a Client Workspace
You can add Client Users to a Workspace by following the instructions in our ‘Inviting Client Users’ help guide.
Add your Team Members to a Client by following the instructions in our ‘Inviting Team Members to a Client or Firm Workspace’ help guide. Please note: Team Members must first be added to your Basil account before you may invite them to a Client’s Workspace. You may view our ‘Add Team Members’ help guide for instructions.
Resending Invitations to Clients
To reinvite clients, follow these steps:
- On the “My Clients” page, go to the top-right of the screen and switch to the “List View” by clicking on its icon.
![]()
- Click the name of your Client.
- Click on the three-dot button across from the Primary User’s row and select ‘Resend Invite’.

Inviting or Reinviting Clients in Bulk
You may need to send invitation emails or reminder emails for your clients in bulk. You can use the following steps to help save time in doing so:
- In the People tab and ‘My Clients’ subtab, use the ‘View’ selector on the left to toggle from Clients to CRM.

- Under the ‘Status’ column, click the filter icon and select Invited and/or Not Invited. Then click Apply.

- On the left, use the checkboxes to select several or all rows you’d like to be invited or reinvited.
- On the top-right, a new toolbar will appear with a ‘Send/Resend Invite’ envelope icon. Click that button and the invitation emails will be sent out.

Importing Clients in bulk through .CSV file
You can add a list of many clients to your Basil at once, even hundreds. Please refer to this Help Guide on how to do that.
Importing Clients in bulk through QuickBooks Online
You can create Invoices in Basil and have them sent to QBO for further processing. Please refer to this Help Guide on QuickBooks Online Integration.
Archiving Clients
Clients can be deactivated and reactivated by the Account Owner and Team Members with permission, removing them from the Clients list in the People tab. This will also prevent the Client’s Primary Users and Client Users from being able to sign into Basil until the Client is reactivated.
To deactivate a Client, while logged in as the Account Owner or Team Member with People > Clients > Deactivate permission, go to the People tab. Then locate the Client and click the three dots to the right and click Deactivate. The Client will no longer show in the Active Clients list and the associated Primary/Client Users will no longer be able to log into Basil.

To reactivate the Client, from the People tab, click the filter icon on the top-right and select Inactive.

Click the three dots to the right of the Client and click ‘Activate Client’. The Client will then be moved to the Active Clients list and the associated Primary/Client Users will be able to log into Basil again.
