
This article is intended users under the Basil Advanced plan. Basil Simple users can refer to this article.
Once a Task or Project is created, Basil users can work on them by logging time, adding comments, and changing the status.
Opening a Task:
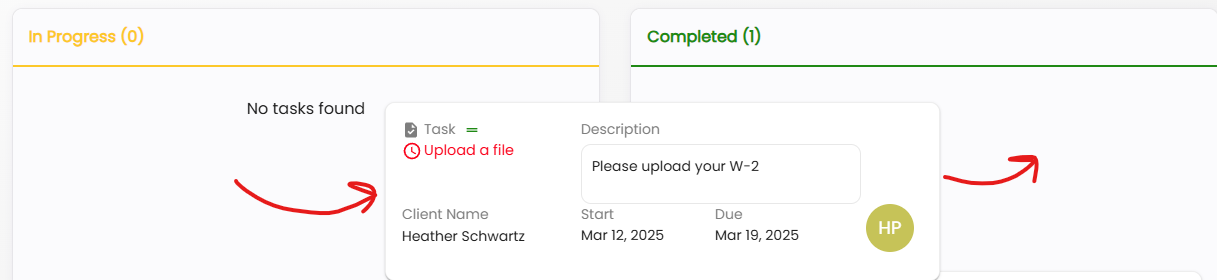
If you’ve been assigned Tasks, you can view them in the ‘Tasks’ tab of Basil. You can click the Task’s name on the tile to view more details. (If the name of the Task is colored grey, either the Start date has not started or the parent Project is still in Draft status)

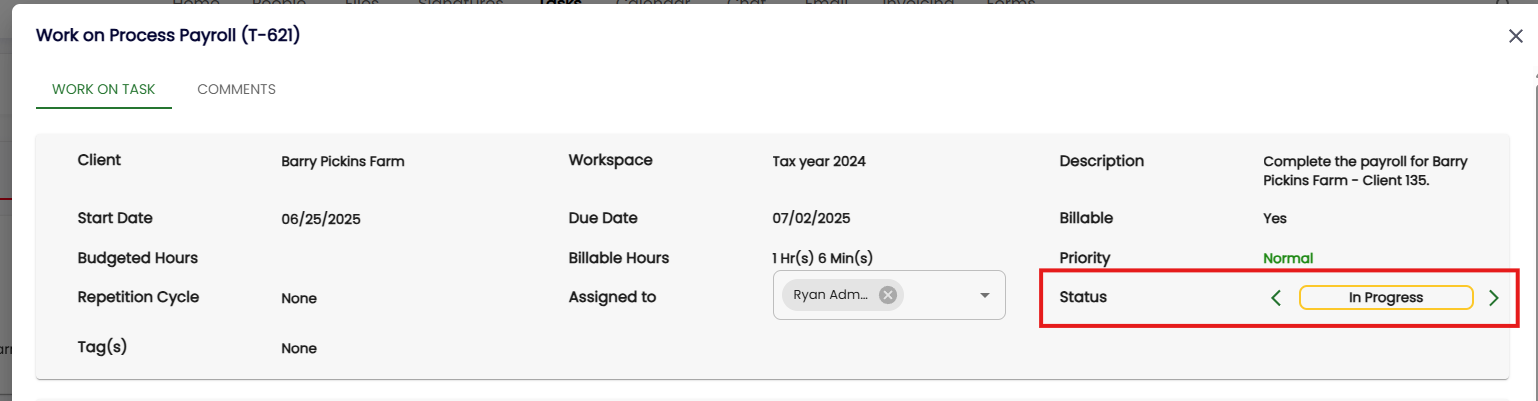
A ‘Work on’ window will pop up. Here, you can see more information about the Task. You can add comments by clicking the ‘COMMENTS’ subtab on the top-left.

You can follow this help guide for additional guidance on viewing Tasks in different views and filtering Tasks: Viewing and Filtering Tasks.
Logging time:
There are two ways to log time on a Task in the middle section of viewing the Task:

- The Category field can be toggled through Basil Settings > Task Settings > Time Tracking Category. Any Category defined through the Timesheets tab will be selectable when logging time in Tasks. The Category field is used for reporting rather than invoicing.

Viewing logged time:
Once time has been logged on a Task, you can view the time worked in several places:
1. In the bottom section of the Task, when opened. You can also edit or delete entries here under the Actions column.


Changing a Task’s Status:
You have two ways to change its status: in the Placard view, you can simply click and drag its tile to the other columns.
You can also open the Task and adjust the status through the ‘Status’ field.
How to assign an Unassigned Task:
A Task could have been created with no assignee, therefore being ‘Unassigned’. This means anyone on the team can go in and assign the Task to themself.
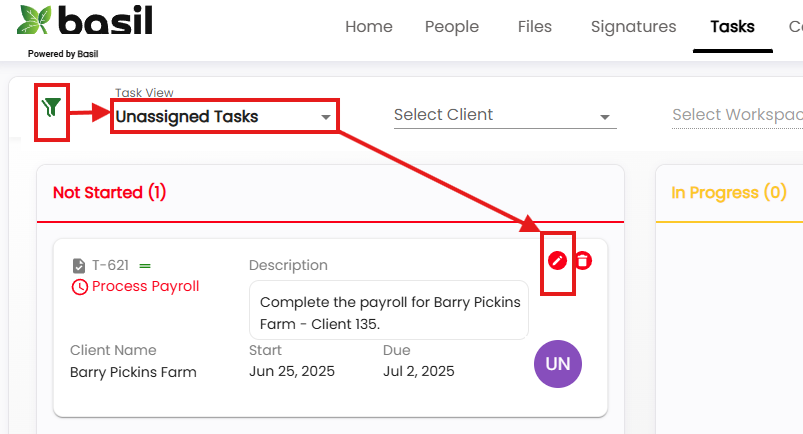
To do this, in the Tasks tab, first click the funnel icon on the top left and change ‘Task View’ to ‘Unassigned Tasks’. You will then see any available Tasks. Click the pencil icon.
Click the ‘Assign To’ field, remove ‘Unassigned’, and add the appropriate user(s). Then, click Save.

The Task will then be visible under the ‘My Tasks’ and ‘All Tasks’ filters.