
Basil payments are made by Account Owners with a credit card while logged into your account (www.coraltreetech.com/basil). Bills are defaulted to an annual cycle but can be toggled to be on a monthly cycle and vice versa (yearly payments will receive a discount of two months per user). Please view our Basil Billing Details article for more information regarding what is billable in Basil.
How to View Your Bills and Payments
Once you’re logged in to Basil, click on your name in the upper right, and select ‘Billing’.

CHANGE PENDING
The Billing page has four sections: View Bills, Pay Bill, Auto Pay, and Notify. The Billing page loads on the View Bills page by default, and you can see your billing history here. Click a billing period to view the details of the bill such as billable users, extra storage purchased, eSignatures with KBA enabled, discounts provided, and more.

If you have a bill due, the Pay Bill section will be active, and you can click there to pay.
Pay Bill (One-time Payment)
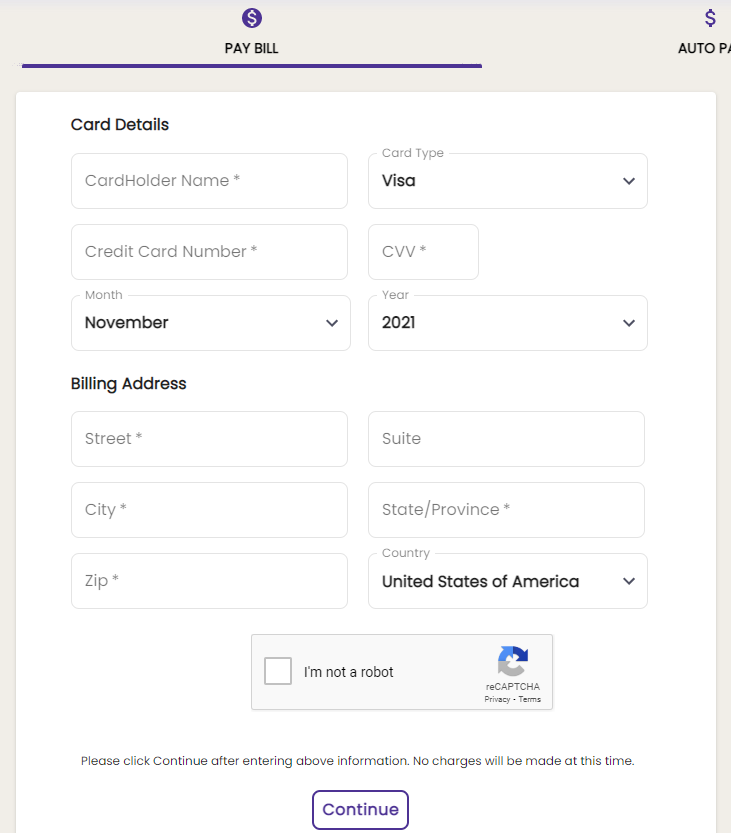
To pay your bill, click your user icon/name at the top right of Basil, and select ‘Billing’. Click the ‘Pay Bill’ tab. Enter your credit card information to pay the bill. Please note that payments are processed by Braintree (a PayPal service).
Set Up Auto Pay
If you want to set up Auto Pay, click on your user icon/name at the top right of Basil, and select ‘Billing’. Then navigate to the ‘Auto Pay’ tab.

Enter your credit card information, complete the CAPTCHA, and click ‘Continue’. Auto Pay payments attempt to process every night.
How to Switch Between a Monthly and Yearly Billing Cycle
To change the billing cycle, click your user icon/name at the top right of Basil, and select ‘Billing’. Click the View Bills icon to view your bills. Select the 'View Bill' eye icon to the right of your latest bill. You may need to scroll to the right to see this column.

Then click the pencil icon next to 'Billing Cycle' to toggle between Monthly and Yearly billing.

Lastly, confirm that you would like to change the billing cycle.

How to Remove a Team Member from Billing
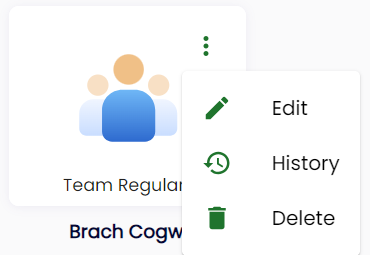
To remove a Team Member from your billing, click on the 'People' tab of Basil and then click on the 'Team Members' sub-tab. Click on the three-dot icon for the Team Member you wish to remove and select ‘Delete’.
Please view your bill as instructed above after making changes to your billable users to ensure it reflects the changes made. Contact Basil Support immediately if you have any questions or concerns regarding your bill.
Add an Extra Email Address to Receive Billing Notifications
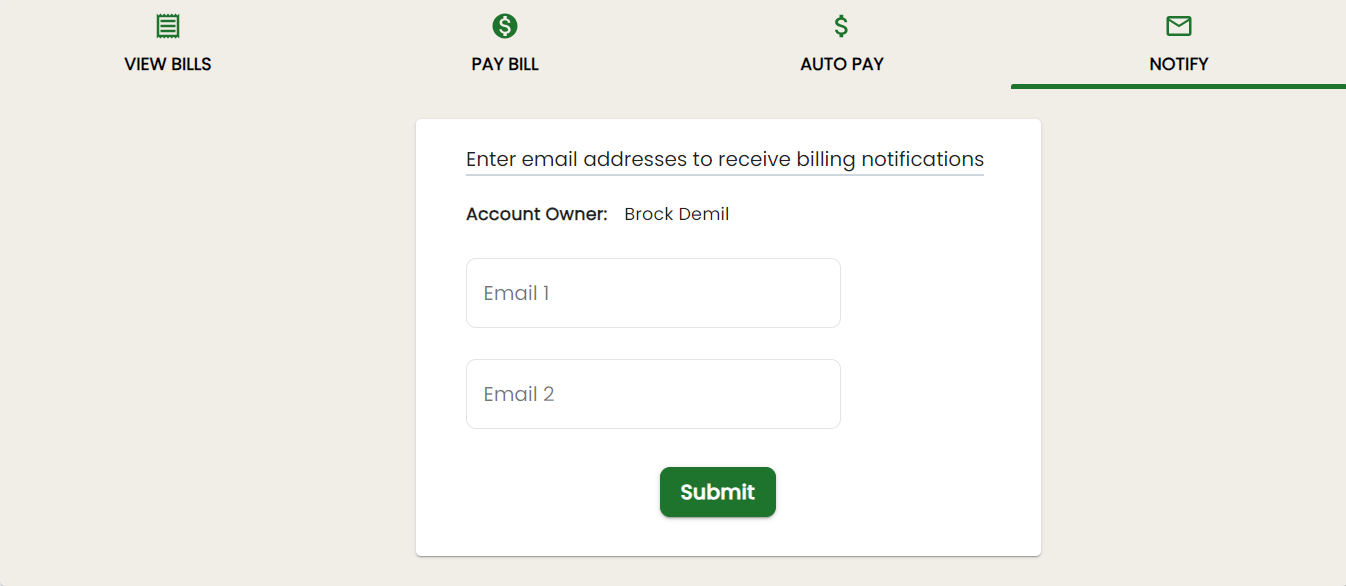
Click your user icon/name at the top right of Basil, then select ‘Billing’. Clicking on the ‘Notify’ tab on the Billing screen will allow you to add two more people/email addresses to be notified when a bill is due. The Account Owner will always be notified, so you don’t have to enter your own email address here. Enter the email address and click ‘Submit’.
Purchase Additional Storage
Click on your user icon/name at the top right of Basil, select ‘Storage’, then click the ‘Buy Storage’ button.

From here, you can select how much more storage you need to add in increments. Click ‘Purchase’ to confirm adding the extra storage to your account. You will be billed for the additional storage on your next bill. You may refer to our Billing Details page for pricing rates.