
In addition to utilizing Qbox to share and sync files with other users, it can be used to share and sync files with additional computers of your own. Qbox Account Owners (or Team Members with Admin permission) can send invitations to additional, unique, email IDs for use on other computers. As remote work is becoming more common, the usefulness and importance of Qbox access has increased as well, with many users seeking to share files between both their office and home computers, as well as any laptops working on the go.
Can I use the same email address to set up my Qbox account on two computers?
Our patented File Lock and Sync technology associates active locks with the email ID registered to your Qbox account; therefore, you will need a unique email address for each computer you plan to use Qbox on. This prevents any confusion when trying to determine which user has the lock and on which device the user locked the file. To access files on an additional computer, share the Sync folders with an additional, unique email address you use, and register then set up Qbox with that email on your additional computer. Click here for instructions on how to share a Sync folder.
Accessing Qbox Files on Multiple Computers
As mentioned previously, you will need a separate email to set up Qbox on each computer, as the Qbox lock is attached to the email used on each computer. There is no additional charge for sharing folders with more users/computers.
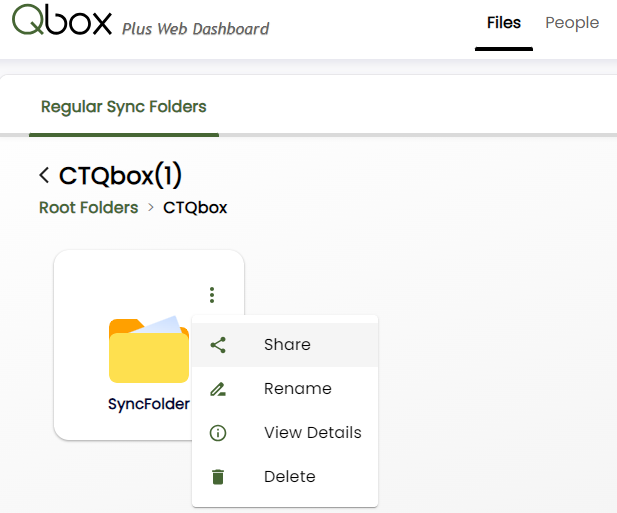
If you own the folder that needs to be accessed on the second computer, send an invitation to share your folder with another one of your emails (you may also send an invitation if you are a Team Member with Admin permission). Log into your account at the Qbox website (www.coraltreetech.com/qbox), and locate the folder you need to be shared. Click the folder’s 3-dot action menu and click on the share option.
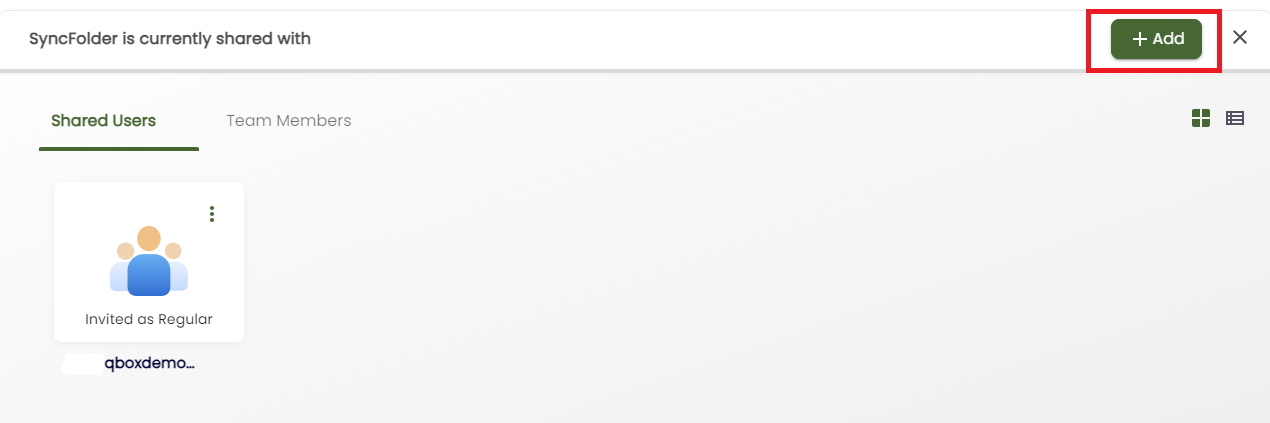
This will open the share page that displays who the folder is currently shared with. To add another user, click the ‘+ Add’ button in the top right corner.
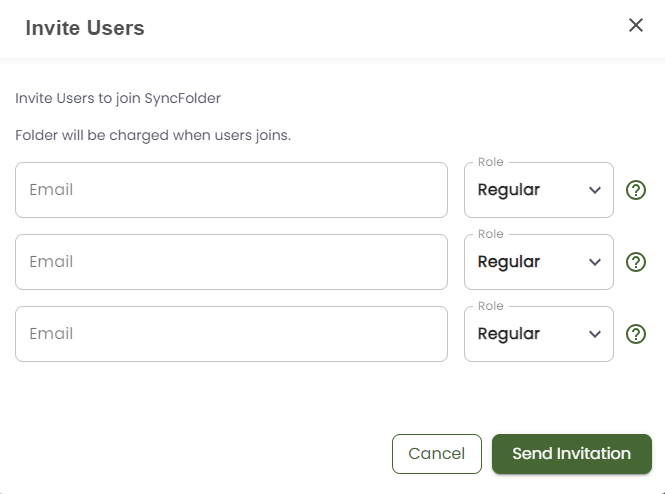
This button will open a new window where you can add the user’s email address, select their role, and invite them to the Qbox Sync folder.
If you need to share a folder owned by another user, the folder owner needs to send the sharing invitation to your additional email address following the instructions above or our Inviting Users to a Sync Folder help guide.
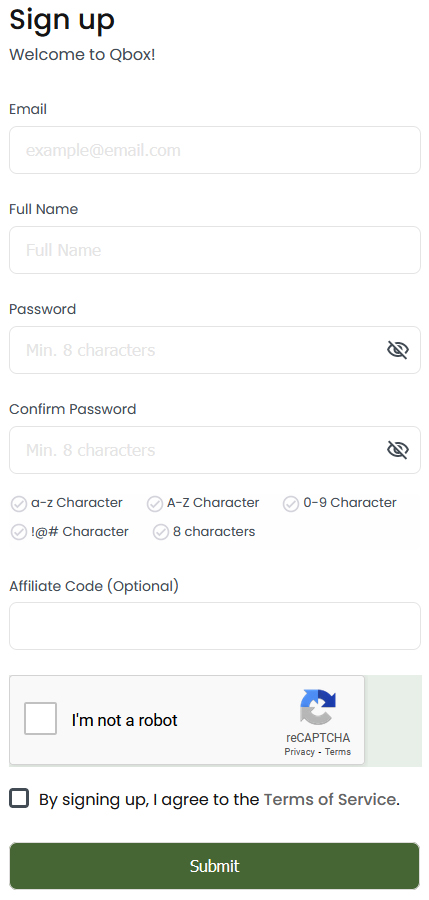
Once an invite has been sent, you can begin the process to set up the second computer as a shared user. If you received an email invitation, click the link provided to create an account. Alternatively, you can visit our website (www.coraltreetech.com/qbox) and sign up for your account manually using the additional email address that was invited. Register and verify your account.

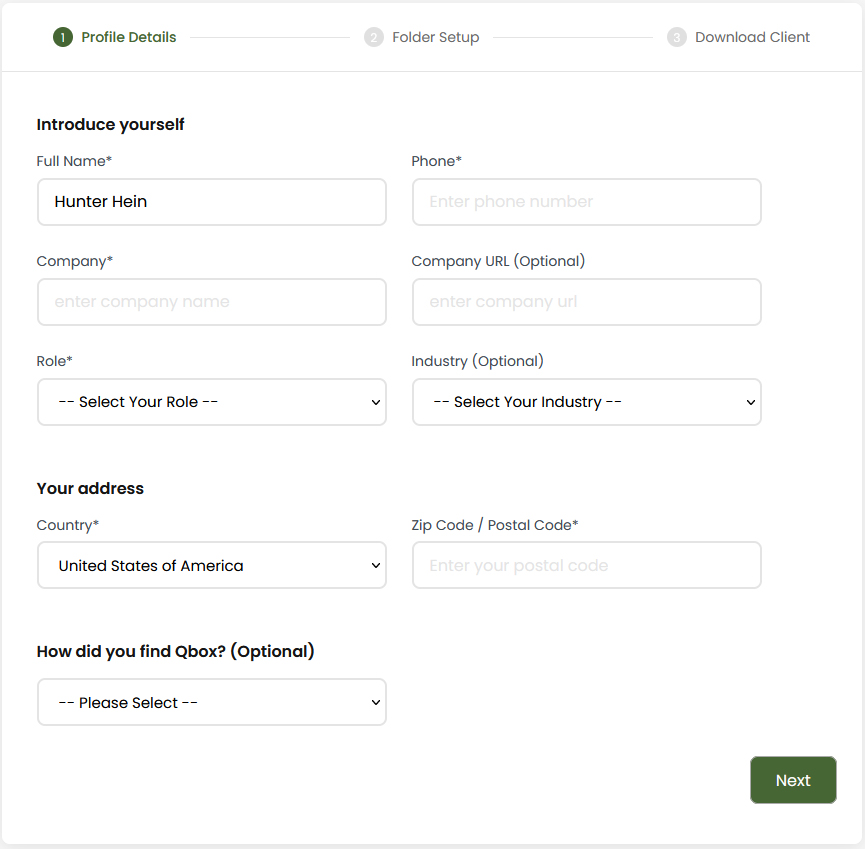
After you set up and verify your account, enter your profile details (we will only use your phone number for product support reasons).
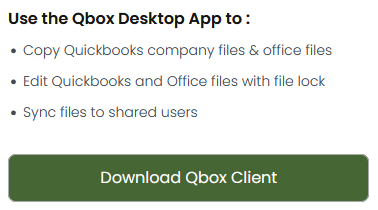
On the next screen, click ‘Download’ to install the Qbox Client on your computer. Click ‘Run’ when the Windows dialog box appears and then select ‘Install’.
Please note:
- If Windows only prompts you to ‘Save’, save the file and run it (open the ‘Setup’ file from your downloads) to initiate installation.
- Qbox may install Microsoft .NET framework if it is not already installed.
- If the download was not successful, you can download the Qbox Client again from the Admin page on your Qbox Plus Web Dashboard (www.coraltreetech.com/qbox).
You should be prompted to login to the Qbox Client when the installation is completed. Enter the email and the password you created for the new account.
Using Multiple Qbox Accounts on a Single Computer
We strongly recommend each Qbox account be used on a different computer. However, we understand that may not be possible or convenient in some cases. For example, if you need to use Qbox MU (Multi-user) at the office, but also need to use that PC at home in single-user mode, or if more than one person uses the PC. In order to use multiple Qbox accounts on a single computer, you will need to create separate Windows User Profiles for each Qbox account you wish to use on the same PC. You will then register a Qbox account for each User Profile using separate email addresses and install Qbox on each Windows User Profile. If you require assistance with the creation of your Windows User Profile(s), we recommend you contact your IT professional as Qbox Support does not directly support Windows-specific inquiries. For your convenience, we have linked an article from Microsoft detailing how to create a User Profile in Windows 10 and 11: Create a local user or administrator account in Windows.
After you have created a separate Windows User Profile for each Qbox account, you may follow the instructions outlined in ‘Inviting Users to a Sync Folder’. Please note that you must ‘Sign Out’ of each Windows User Profile before signing on to another in order for the Qbox Explorer to work correctly.
How to Move an Existing Qbox Account to a New/Different Computer
If you want to use a new or different computer and do not intend to continue using Qbox on the original computer, you will just need to download the Qbox Client/Explorer to the new PC and sign in to your Qbox account. Here are quick instructions for your convenience:
- Login to the Qbox website (www.coraltreetech.com/qbox) and go to your account menu dropdown in the top-right where your initials are shown
- Select ‘Download Qbox Client’ from the drop-down menu to download the ‘Setup’ file.
- Click the ‘Setup’ file to open and run it, then install Qbox (the ‘Setup’ file will be in your ‘Downloads’ folder).
- When prompted, sign in to the Qbox Explorer with your Qbox credentials.
-
You will receive a message informing you that your Qbox account has been previously set up on another computer, and if you proceed, you will no longer be able to access Qbox on the original computer. This is ok, and you may continue.
-
- Select a location for your Qbox folder.
- After a few moments, Qbox will begin to sync down the most recent version(s) of your file(s) that have been synced to the Qbox Cloud. You may begin using Qbox and working on your file(s) when the sync is completed.
Note: Please make sure your new computer has all the necessary program software installed to open your shared files - QuickBooks, Microsoft Office, etc.