You can import PDFs and request eSignatures from signees through the Qbox web dashboard. The feature must first be enabled by the Account Owner using this link.
To initiate an eSignature, follow these instructions:
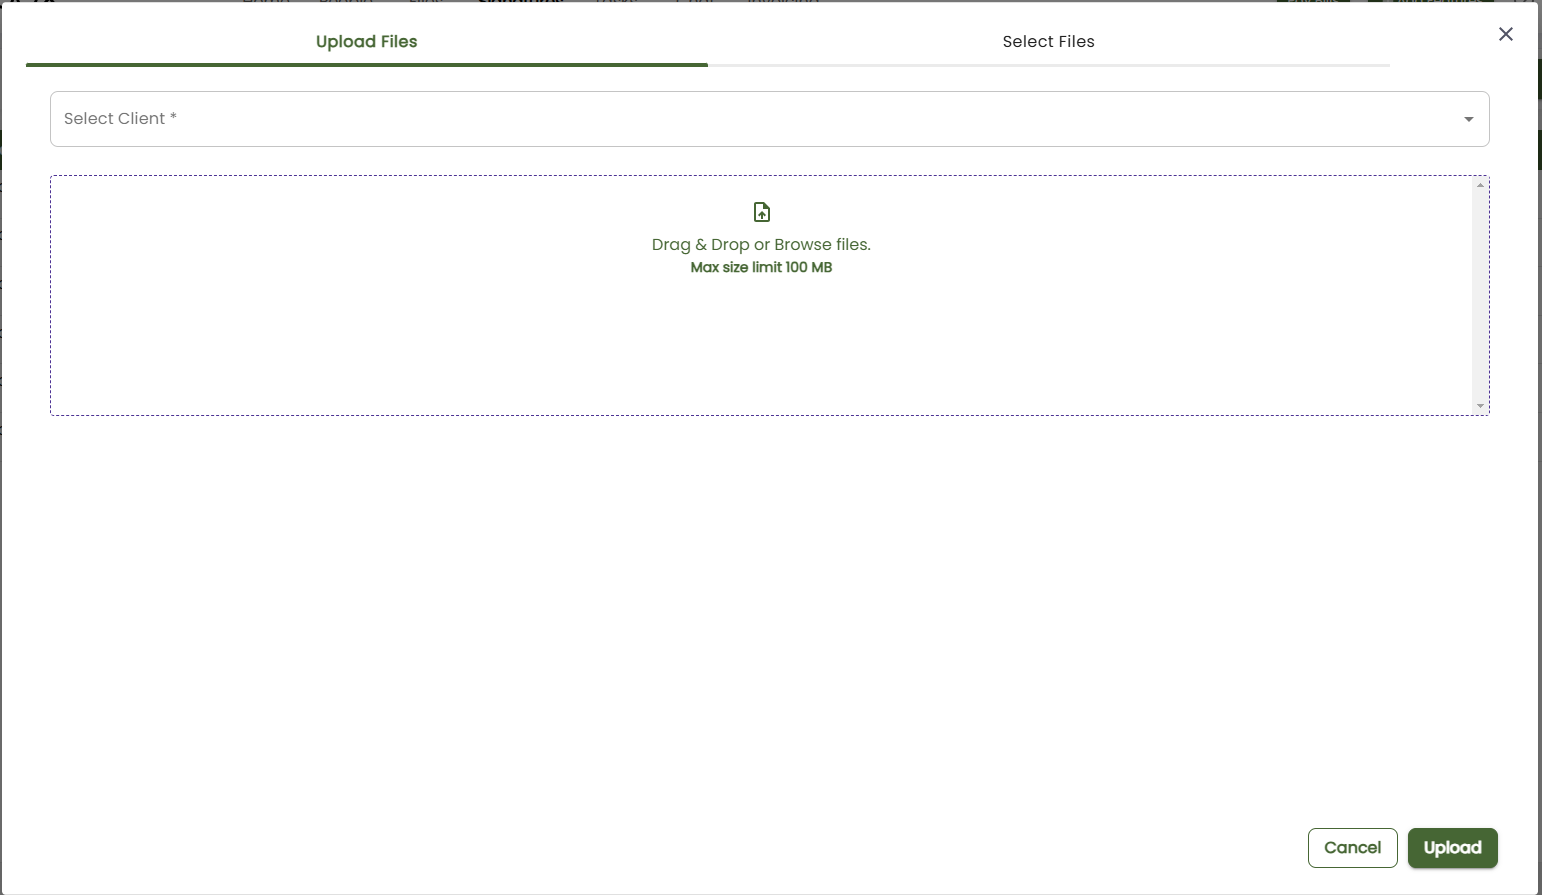
- Click on the ‘Signatures' tab at the top of Qbox and then select the '+Add' option to the top right.
- In the pop-up window, you'll be presented with the option to add a new PDF file to use for eSignature. Make sure to select the correct Client so Qbox knows where to store the PDF during document preparation. You may also categorize the file during this upload process as well. You can add the file by dragging and dropping the file into the indicated box in the center or you can click the center box to browse and select the file from your computer. Once these are filled out and you're ready to proceed, click 'Upload'.
- If the file you wish to use for eSignature is already on Qbox, you can use the 'Select Files' tab instead and select the file from the correct Client in Qbox.
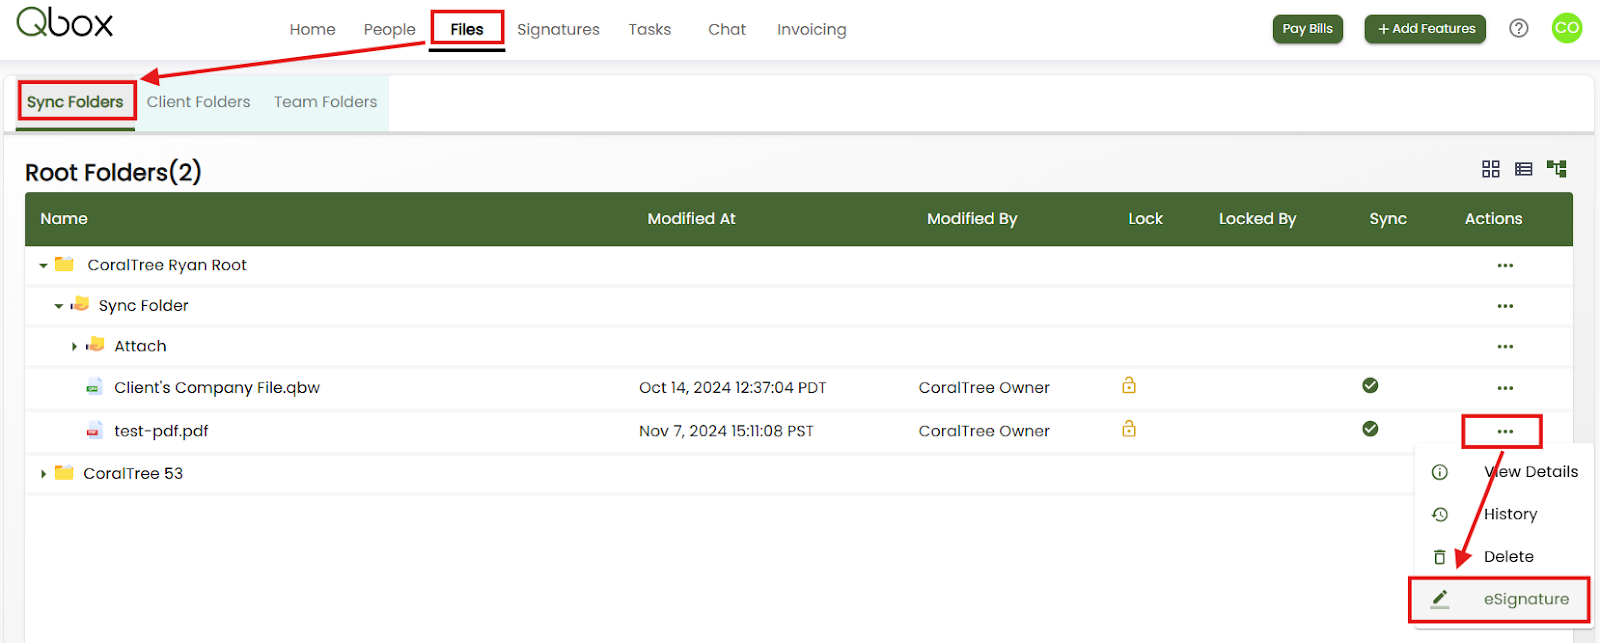
- Alternatively, you can go to the 'Files' tab and navigate to the Client older where you'd like to have the PDF reside and use the 'Actions' menu to upload the new PDF to that exact location. Once a document is added, you can then click the three-dot menu for the PDF document and select 'eSignature'.
- If the file you wish to use for eSignature is already on Qbox, you can use the 'Select Files' tab instead and select the file from the correct Client in Qbox.


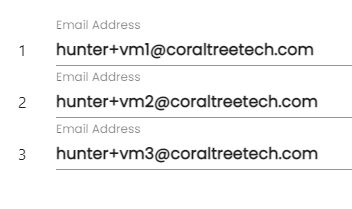
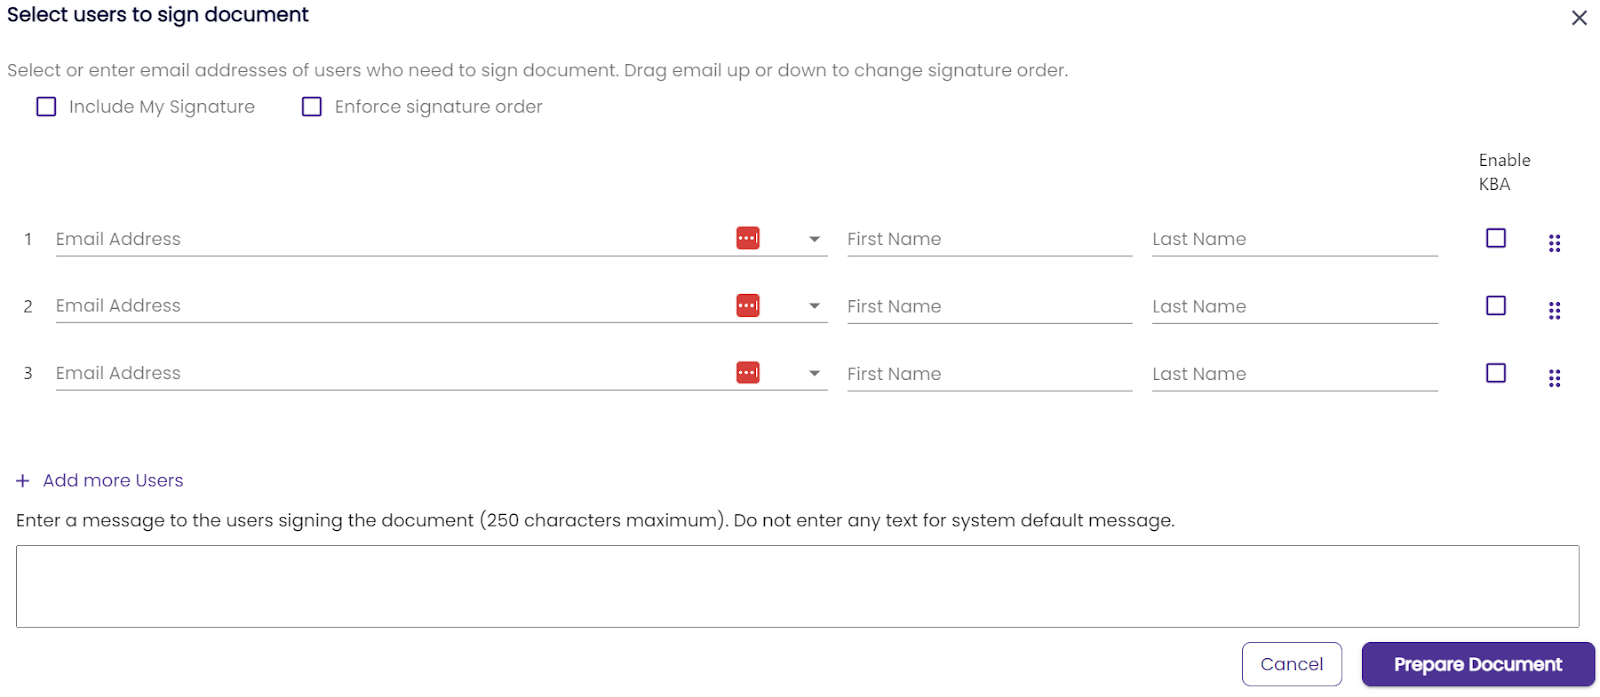
Enter the email addresses of users who need to sign the document.


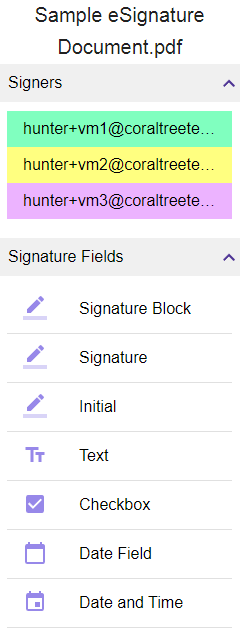
To prepare the document, drag and drop eSignature components like a Signature line, Initials line, Date field, Text Box, or Checkbox over the document.

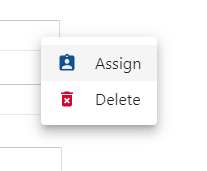
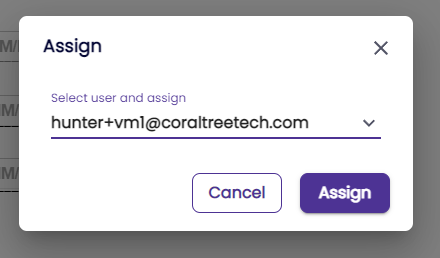
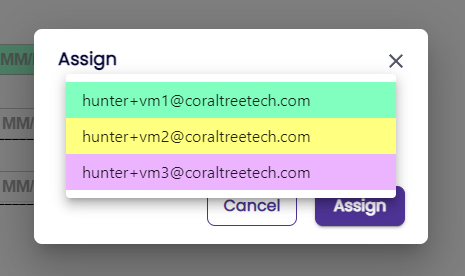
Assign each component to a signer by right-clicking on the component.
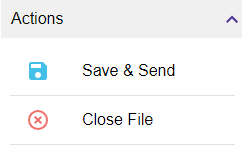
When you are finished, click the 'Save & Send' button to send an email to each selected user which will include a link to access and sign the document.
To initiate an eSignature to a user with a regular Qbox account (with access to a Sync folder):
If you’d like to have an eSignature sent to a user who has a Qbox account, you can first upload the PDF through the Qbox Explorer desktop client or initiate from an existing shared PDF. Then you can go to the Qbox web dashboard, go to the Files tab, and locate the PDF file in the appropriate Sync Folder. Once located, you can click the three-dot Actions button and select ‘eSignature’ to initiate the signature.
Once all signees have completed the document, a new version of the PDF will be downloaded onto the Qbox Explorer for those who have it installed.
Using AI to Detect Sign Elements:
When adding signature elements to a document in a Folder, you can simplify the process by having Qbox parse through and automatically detect potential elements.
First, reach out to Qbox Support to have this feature enabled. Second, while logged in the Qbox web dashboard as the Account Owner, click your icon on the top-right and go to Settings. Under the ‘AI’ section, click ‘Enable’. This only needs to be done once.

Initiate an eSignature on a PDF file in your Sync folder or a Client Folder from the Qbox web dashboard and select ‘Prepare Document’. (This function is not available for Creating/Applying Templates).

On the screen where you drag and drop elements, you should see a ‘Detect Elements with AI’ section on the right. Click the ‘Detect Sign Elements’ button and you will see new elements being added where Qbox best sees them fit. If any of the elements are misplaced, you can right-click and delete them or click and drag to reposition.

You will see a pop-up on the bottom-right showing how many AI Credits were used for this function.

If there are no remaining Credits, you will be prompted to purchase additional storage from the Storage page. Alternatively, you can wait for the end of the monthly billing cycle for more Credits to be added to your account.

To track how many remaining AI Credits you have, click your initials on the top-right of Qbox and select ‘Qbox AI Credits’.

100,000 of AI credits are included for free for each billable folder, additional storage, and CS billable user added to the account. Please note the following:
- AI credits reset monthly — Unused credits expire at the end of each monthly billing cycle.
- New credits are credited on the 1st day of each monthly billing cycle.
- Non-transferable — AI credits cannot be transferred, resold, or converted into cash.