
Obtaining an eSignature in Basil is simple. First, you will need to upload a PDF document to the appropriate client workspace in Basil. If you need to send an eSignature with KBA (knowledge-based authentication), Basil will let you do so. Details on how to enable an eSignature with KBA and what to expect can be found in our Knowledge-Based Authentication help guide. KBA is a feature that will need to be enabled for you by the Basil support team (support@coraltreetech.com).
- Click on the 'Signatures' tab at the top of Basil and then select the '+Add' option to the top-right.

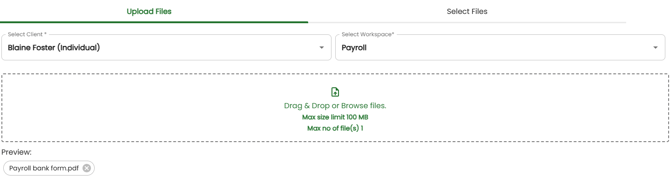
- In the pop-up window you'll be presented with the option to add a new PDF file to use for eSignature. Make sure to select the correct Client and Workspace so Basil knows where to store the PDF during document preparation. You may also categorize the file during this upload process as well. You can add the file by dragging and dropping the file into the indicated box in the center or you can click the center box to browse and select the file from your computer. Once these are filled out and you’re ready to proceed, click 'Upload'. For best results, ensure your PDF is one of the following page sizes: Letter, Legal, A3, A4.
- If the file you wish to use for eSignature is already on Basil, you can use the 'Select Files' tab instead and select the file from the correct Client and Workspace in Basil.
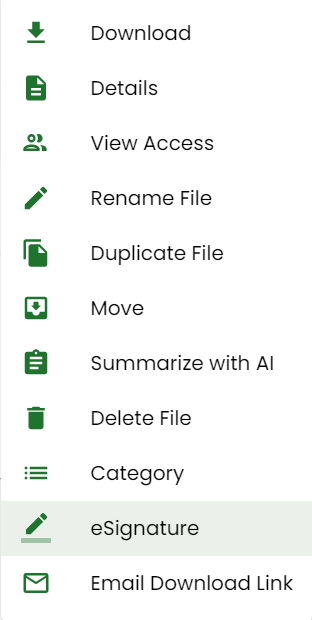
- Alternatively, you can go to the 'Files' tab and navigate to the client Workspace or folder where you'd like to have the PDF reside and use the 'Actions' menu to upload the new PDF to that exact location. Once a document is added, you can then click the three-dot menu for the PDF document and select 'eSignature'.
- If the file you wish to use for eSignature is already on Basil, you can use the 'Select Files' tab instead and select the file from the correct Client and Workspace in Basil.
- Next, you will have the option to prepare the document, create a template, or apply an existing eSignature template. The ‘Prepare Document’ button is used when you need to prepare a unique PDF document for specific client users. An eSignature template can be created for a document that is commonly signed by many different Client Users or Team Members. You can create a template and apply it to a document when necessary to save time preparing the document for the specific Client User(s) or Team Member(s). For this example, select the ‘Prepare Document’ button.
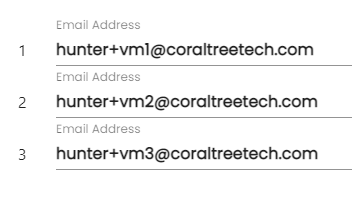
- Enter the email addresses of users who need to sign the document.
- You can rearrange the order by dragging the emails up or down using the icons on the right.
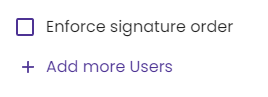
- Check the ‘Enforce signature order’ box if the users need to sign one after another. If enforced, the second signer will not receive a notification or be able to sign the document until the first user signs the document and so on. You can also add more users to sign the document by clicking ‘Add more Users’.
- Check the ‘Include My Signature’ box if you need to sign the document.
- If KBA is enabled, check the ‘Enable KBA’ box if you wish to have the user(s) verify their identity using knowledge-based authentication.
- Once all signer email addresses have been added, click the ‘Prepare Document’ button.
Note: If you need to change the email address, First Name, or Last Name of a signer, you’ll still be able to do so from the “Prepare Document” screen by finding the person in the “Signers” dropdown and clicking the pencil icon. After the document has been “Saved and Sent”, you’ll no longer be able to edit the names or email addresses. - The document will be displayed and there will be a panel with multiple eSignature fields on the right side of the screen.
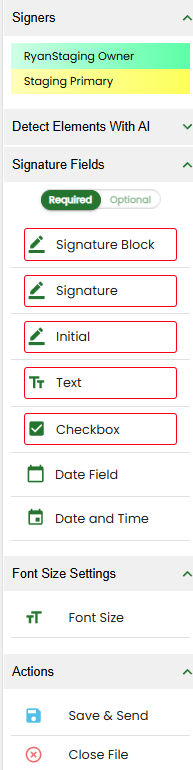
- To prepare the document, drag and drop eSignature fields like a Signature line, Initials line, Date field, Text Box, or Checkbox over the document.
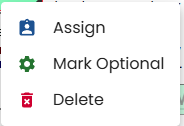
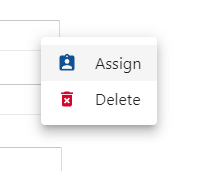
- Assign each field to a signer by right-clicking on the field.
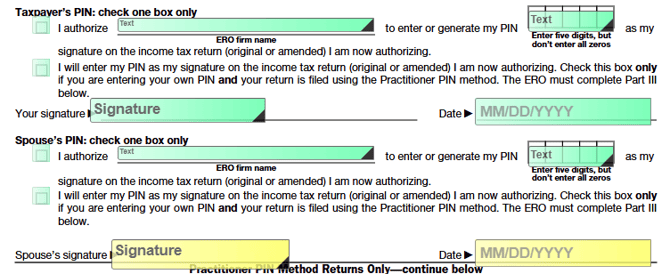
You can easily assign multiple fields to one signer at once by first left-clicking a series of unassigned fields, then right-clicking one of them and selecting ‘Assign’.
The below example shows a group of unassigned fields (in the middle section) that will be assigned to a spouse. Notice the thicker dark blue outline on the unassigned fields that have been selected.
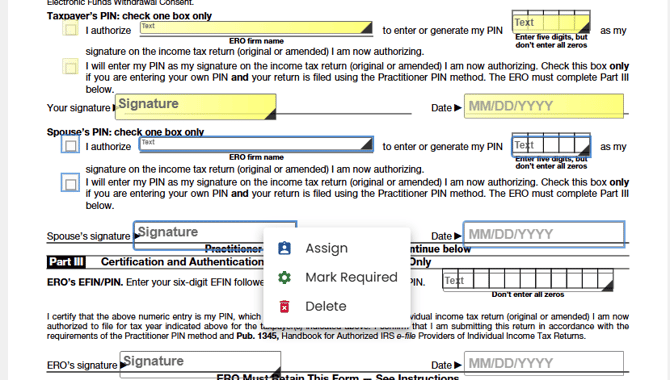
- To mark a field as required or optional, you can use one of two methods:
- Ensure the desired attribute is selected with the ‘(Required | Optional)’ toggle in the ‘Signature Fields’ section on the right, then drag and drop the field onto the document…
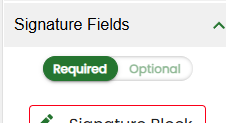
- Or right-click the field and select either ‘Mark Optional’ or ‘Mark Required’
- Ensure the desired attribute is selected with the ‘(Required | Optional)’ toggle in the ‘Signature Fields’ section on the right, then drag and drop the field onto the document…
- You can adjust the font size of text and date fields using the Font Size section on the right.

If ‘Manual’ is selected, the font size will be applied to all text and date fields when sent.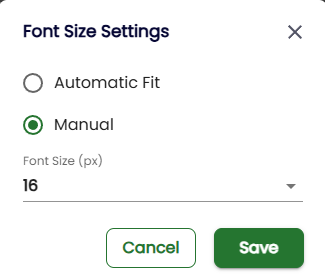
- When you are finished, click the ‘Save & Send’ button to send an email to each selected user which will include a link to access and sign the document.


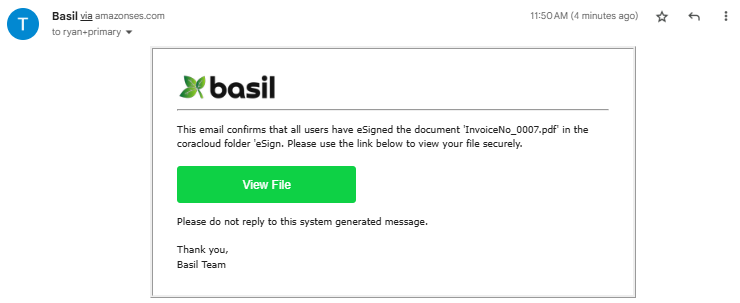
Once all signers have finished signing, they will receive an ‘eSignature Completed’ email with a link to download. It can also be viewed and downloaded from the Signatures tab of Basil.
Additional Signature Settings:
Account Owners (along with Team Members and Consultants with granted permissions) can customize the eSignature experience via the Global Settings page. Changes made to these settings will affect all active and future signature requests sent by your team.
Below is a breakdown of the available settings:
- Enable OTP for Signatures toggles the requirement for One-Time Passcodes (OTP). When disabled, signers will not need to verify their identity via a code sent to their email when completing a signature. When enabled, it adds an extra layer of authentication to all signature links.

- Date/Time Format: Determines how timestamps and dates appear on signed documents. Use this to standardize the display (MM/DD/YYYY vs. DD/MM/YYYY) for all date-related fields.
- Sign Options: Provides control over the specific methods signers are allowed to use. You can toggle options to allow or restrict:
- Text (using a keyboard)
- Draw (using a mouse or touchscreen)
- Image (uploading an image file of a physical signature)

Automated Detection of Elements:
When adding signature fields to a document, you can simplify the process by having Basil parse through and automatically detect potential fields.
First, reach out to Basil Support to have this feature enabled. Second, click your icon on the top-right of Basil and go to Settings. Under the ‘AI’ section, click ‘Enable’.

Initiate an eSignature on a PDF file in Basil and select ‘Prepare Document’. On the screen where you drag and drop fields, you should see a ‘Detect Elements with AI’ section. Click any of the Detect Elements buttons and you will see new fields being added where Basil best sees them fit. If any of the fields are misplaced, you can right-click and delete them or click and drag to reposition. This function is available for the ‘Prepare Document’ option when initiating an eSignature (and is currently not available for Creating/Applying Templates).

Using this AI function will use a certain amount of AI Credits. Please refer to our article on AI Copilot for more information.