
The Basil Forms feature allows you to create customized templates and send them directly to clients to gather essential information. Whether it's tax preparation details, onboarding documentation, or client surveys, Forms streamlines the data collection process, saving you time and ensuring accuracy. Simply tailor the template to your specific needs and send it to clients via email.
To Create a New Form:
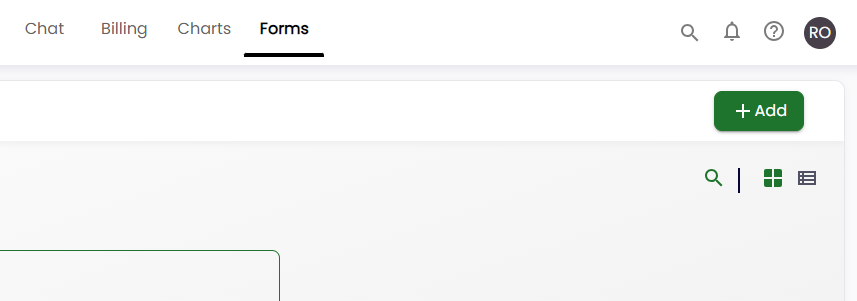
First, start by accessing the ‘Forms’ navigation tab at the top of Basil.
Select the ‘+ Add’ button at the top right.
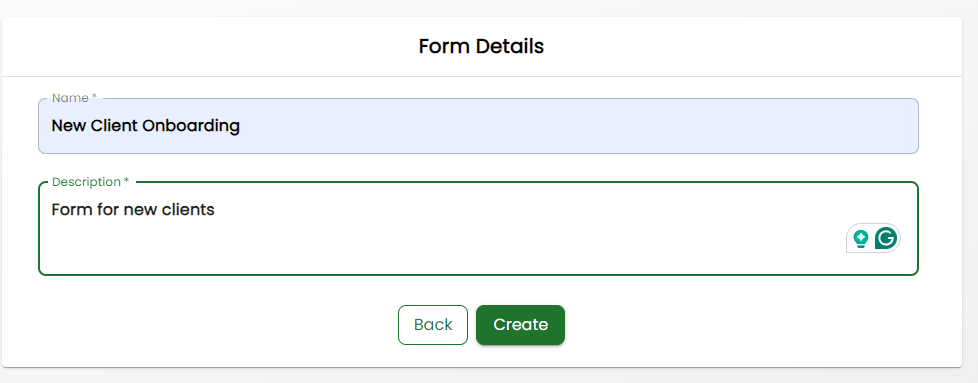
On the next screen, you can name your new Form Template, and describe its purpose. Next, click on ‘Create’.
On the next screen, you’ll start building the form out by dragging the available form elements from the left to the center of the form.
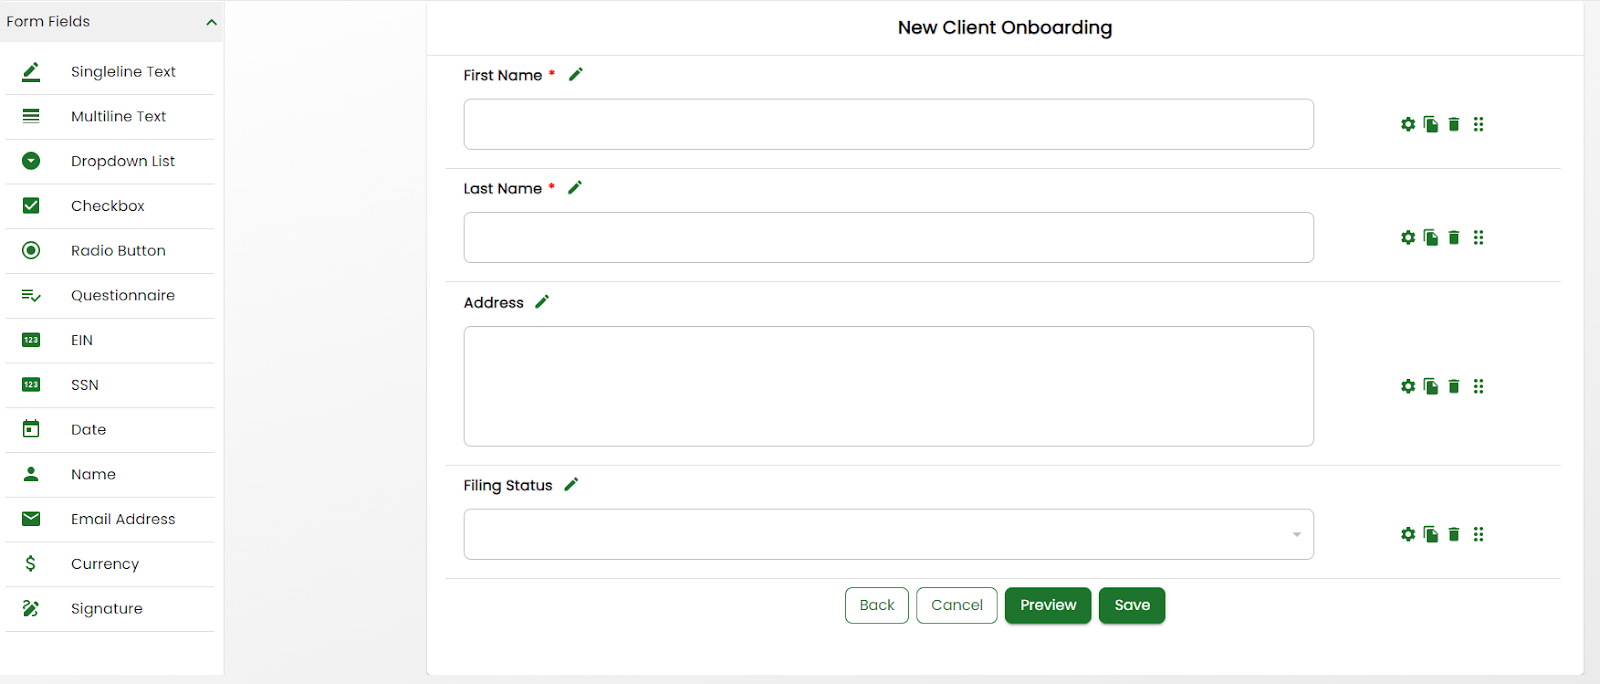
Elements available to use on the form include:
Multiline Label - Use this for typing instructions for the client or including other information such as contact information or an external URL.
Single Line Text - Use this for short responses such as a person’s name.
Multiline Text - Best used for long responses that could be multiple sentences or an address.
Dropdown List - Use this to show the client a few options, only allowing them to select one.
Checkbox - Use this to present multiple options to a client and allow them to select more than one.
Radio Button - This is another option that you can use to show the client multiple options but only allow them to select one.
Questionnaire - This allows you to add a list of Yes/No questions to the form that can be all grouped rather than needing to create multiple elements for each question.
EIN - This is a custom number field designed to fit the standard format of EIN numbers for the United States.
SSN - This is a custom number field designed to fit the standard format of Social Security Numbers for the United States.
Date - A field formatted to accept date information in the format of MM-DD-YYYY.
Name - A field designed for recipients to enter First, Middle, and Last Names into one element instead of needing to use multiple elements.
Email Address - This is a standard element for requesting the recipient’s email address.
Currency - This element type allows the recipient to enter monetary values in USD.
Signature - This element lets the recipient ‘sign’ the document with a signature-like font. This is not an eSignature field and is not tracked or confirmed like normal eSignature documents.
File Upload - This element allows the recipient to attach files to their form to be downloaded by the Account Owner or Team Members for review. (Please note that the file upload option only supports a maximum of 10 files per field.)
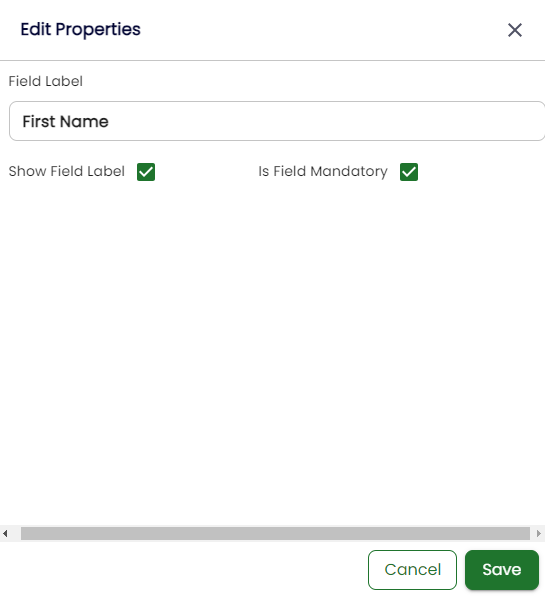
Once you have dragged an element to the center of the form screen, you can click on the element’s cog wheel, to begin customizing the properties of that particular element. Each element has its properties that can be customized, and any element can be marked as ‘mandatory’ or give you the option not to show its label.

You can use the paper Icon to copy the element in question, the trash can Icon to delete the element, and the 6-dot Icon to drag the element around on the form.
At the bottom of the form editing screen are four options:

Back - will take you back to the Form Name and description screen. Selecting this option will also clear out any configured elements.
Cancel - will cancel the whole process and take you back to the main ‘Forms’ screen.
Preview - will generate a preview of what the form will look like to a user that you send it to.
Save - allows you to save your current progress and changes.
Once you are satisfied with the elements you have added to the form, you can click on the save button and be brought back to the main ‘Forms’ screen where your newly created Forms Template will be displayed in the list. Here you can modify the template, copy it, or delete it.

Now that you have your Form Template with the information you’d like to request of the client, you’ll want to have the client fill the form out.
To Use/Send a Form:
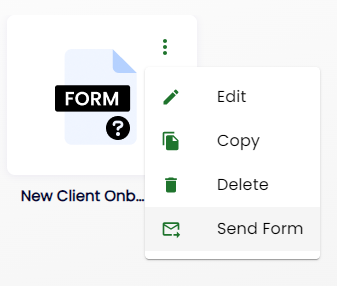
Forms can be sent from the 'Forms' tab of Basil. On this tab, you’ll see your previously created templates and by clicking on the 3-dot menu for a template, you’ll have an option to 'Send Form' the form to as many users as you need.
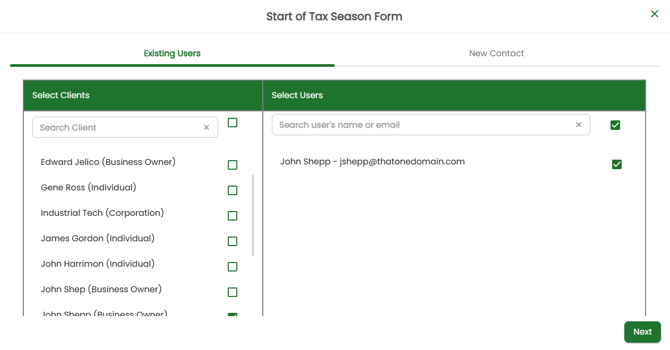
After clicking on the 'Send Form' option, you can select the appropriate Clients and Users whom you’d like to fill out the form. The list of people who appear will consist of the following for each selected Client:
- Primary User
- Client Users (with an account created)
- Previous recipients of Upload/Download links (from the ‘Files’ tab)
- Previous recipients of Form links (from the ‘Forms’ tab)
- Contacts added manually to CRM (from the ‘People’ tab) who have been assigned the Client and have an email address
You can also send the form to a user who does not appear on the list by selecting the ‘New Contact’ tab and entering their information.
Once the appropriate person(s) have been selected, click ‘Next’.
Next, you’ll be presented with a summary screen indicating how many users will be sent the form. You’ll also have the option to enable the Cora Assistant which will send out email reminders on set intervals to the recipient until the form has been completed. A message can also be added.

To send the form to these users and with these assistant setting, click ‘Send Form’
This will send the individuals a link so that they can fill out the web form. The user will need to click on the link from their email in order to access the form. If a custom message was specified, it will show in the email message body.

Once they click the link, a new browser window will open and they’ll be given access to fill out the form:
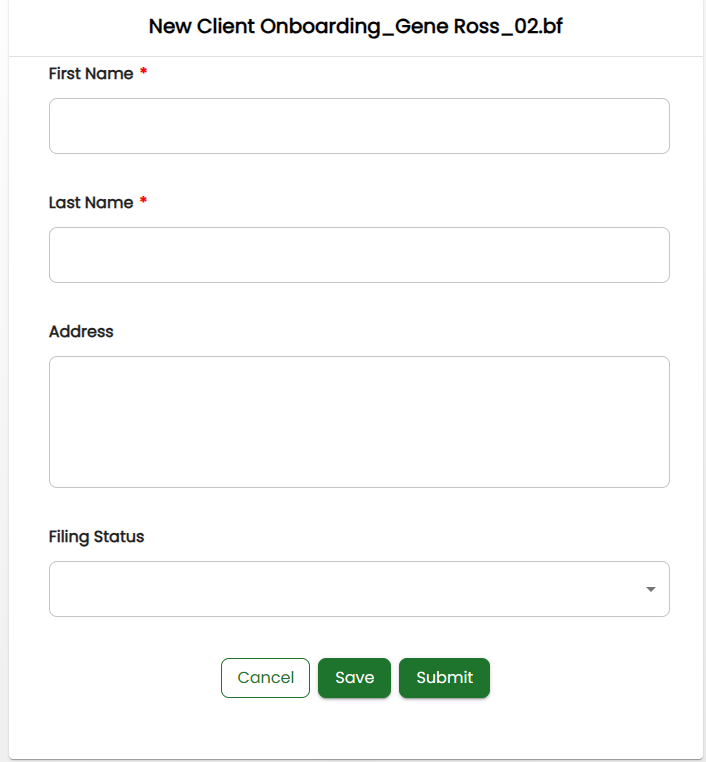
Once they click Submit, they will be asked to verify their access with a verification code, which is sent to their email address:

Viewing Form Responses:
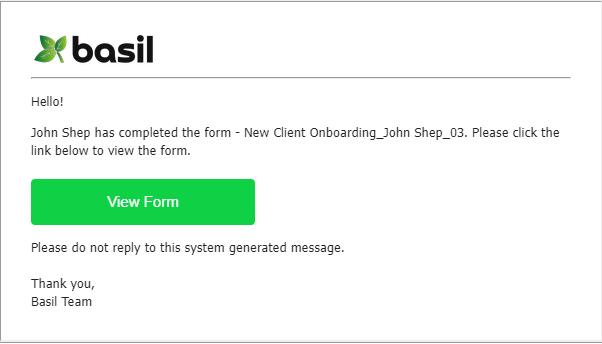
Once each user has filled out the form, their answers will be stored in a file on the Basil platform. You’ll be able to see their responses by accessing the saved file. Once the form has been successfully filled out, you’ll receive an email notification. You can access the completed form directly from this email:
Additionally, you can go to the ‘Forms’ tab of Basil and select the ‘Responses’ subtab to see all of the forms that have been recently filled out and submitted.
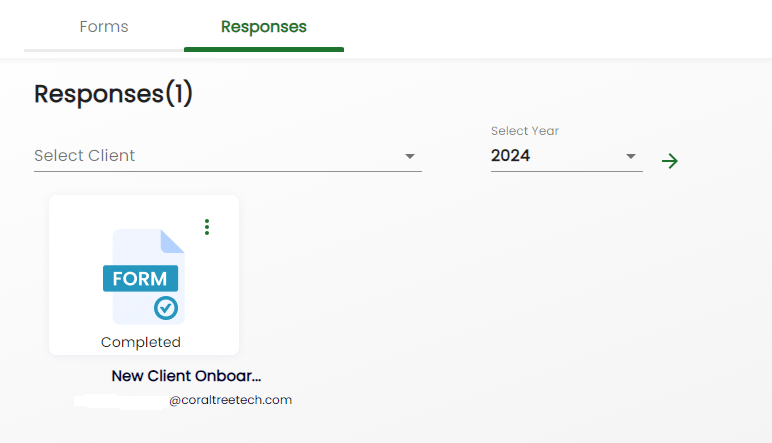
The view on the page defaults to the ‘Tile’ view. Switching to the ‘List’ view will allow you to see more information about the completed forms.

You can click on the name of the completed form in order to view the filled-out responses to each question.
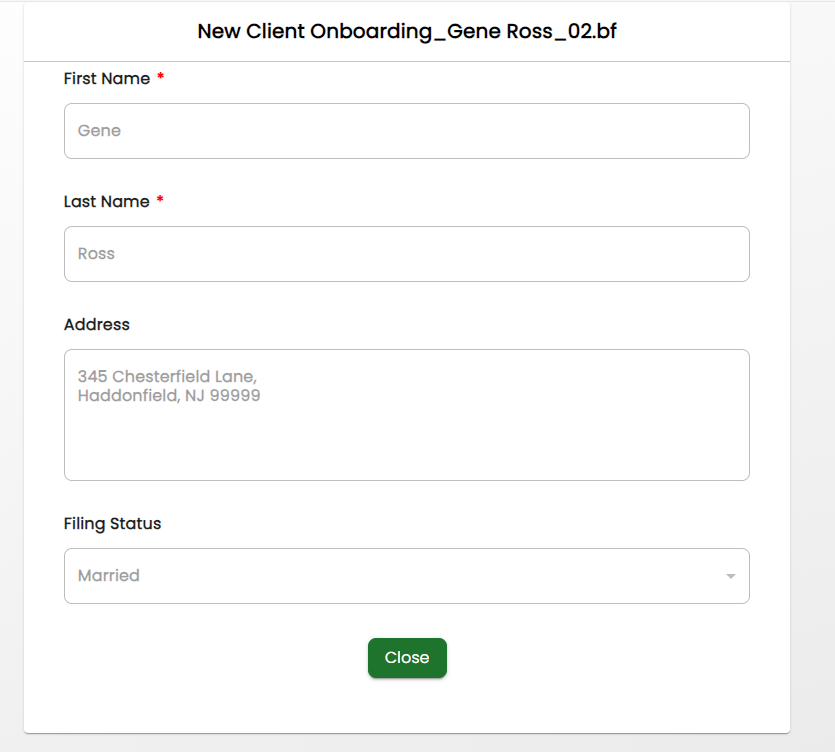
.
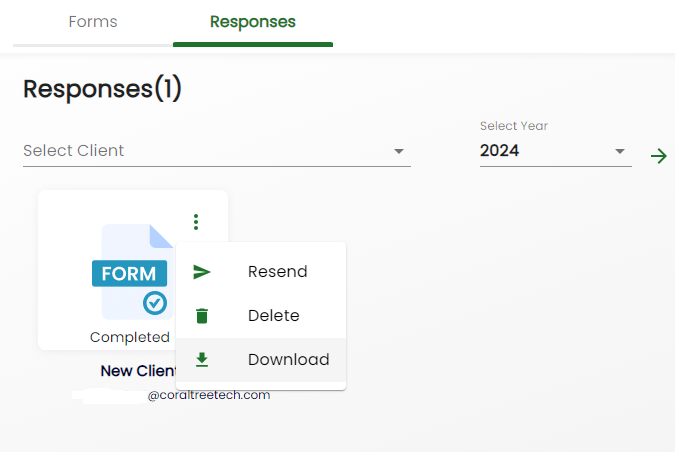
Responses are stored in this section of Basil in a special file. If you’d like to download the information from the form, you can click on the 3-dot ‘Action’ menu for the response and choose the ‘Download’ option to download the file to your computer as a PDF.
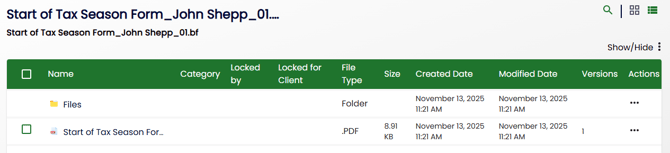
Form responses are also stored in a special hidden client workspace within the 'Files' section of Basil. This Hidden Form Responses Workspace contains the form responses as a PDF, along with any documents the client uploaded using the form's file upload option.
To access the PDF and uploaded documents, open the completed form response and scroll to the bottom. You will find a link to the Hidden Form Response Workspace by clicking on the “Open folder containing files” option.
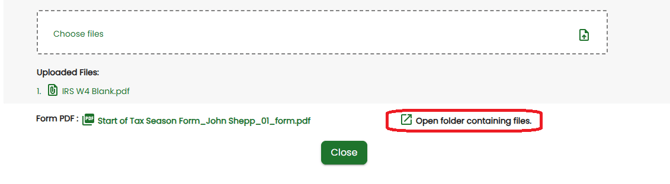
This folder will display the form responses saved as a PDF and all uploaded files. You can view these files directly or move them to the client's appropriate workspace for easier future access.
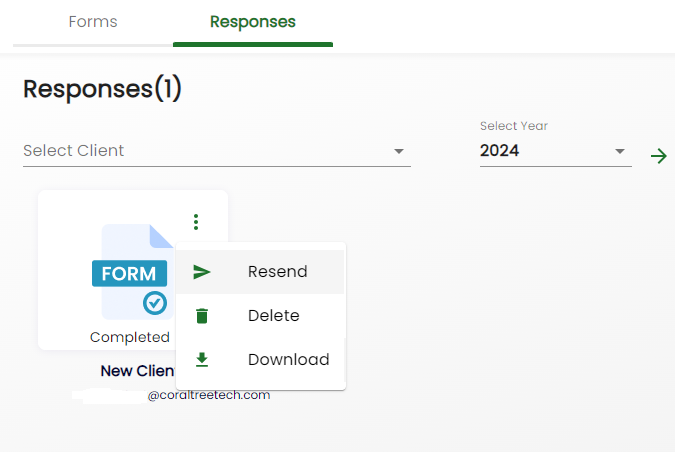
Resending a Form:
When a Form is already sent and completed by a user, if you need them to change or add their input to fields, you can resend the form to have them add that information without needing them to re-enter the rest of the fields.
From the ‘Responses’ subtab, click the 3-dot menu for the completed form to be resent and select ‘Resend’.
You may type in a message to be sent in the email to the user with the reason for resending the form.
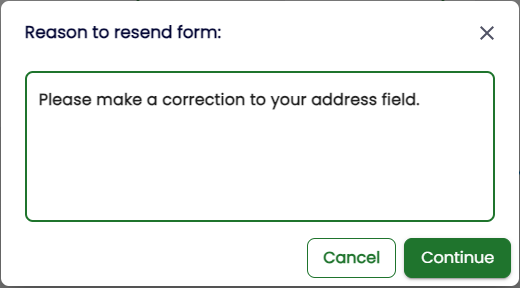
This will send the individual another link so that they can revise the web form. When completed, you will again be alerted when the form has been completed. You can view the submission from the ‘Responses’ subtab as before.
Please note if a form template has since been changed since initially sent, the resent form will only have the original template and not have the latest changes to that template.