On the Basil platform, you have the ability to set granular permissions for different types of user roles. You can do this for team members and client users.
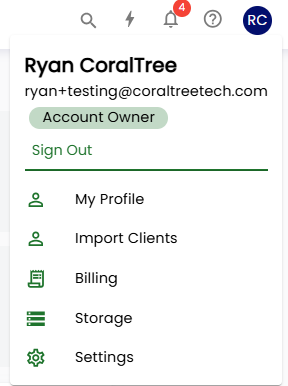
To access role permissions, click on your User Profile menu in the top-right corner and select the settings option.
From there, click 'Roles and Permissions' to expand the section.
Explanation of each Permission
View Charts - Shows the graphs shown in the Home tab.
View/Delete Tasks - Allows the role to view and delete other users’ tasks.
View Reports - Enables the Reports tab only if there is a custom report that has been built through the Report Builder.
View Dashboard - Enables the Home tab.
View/Delete Projects - Allows the role to view and delete projects in the Tasks tab.
View Timesheets - Enables the Timesheets tab.
Create/Edit Tags - Allows the role to type tags as freetext when creating/editing tasks, which adds the tag to the selectable list for all users.
Create/Edit Forms - Allows the role to view, send, and copy existing forms, view form responses, create new forms, and edit/delete their own forms.
Manage Timesheets - Enables the Timesheets tab. Allows the role to submit new timesheets. Also enables the Actions column to edit and delete any row.
Pay Basil Subscription - Enables the Billing button when clicking the top-right icon in Basil, allowing to view and pay Basil-related bills.
Manage Client Locks - Enables Lock/Unlock for Client in file actions.
Manage Client Users - Enables the People tab. Allows the role to share workspaces to client users (but not to primary users).
Manage Team Members - Enables the People tab and the Team Members subtab to create, edit, and delete team members (but does not give access to their billing rates). Allows the role to share workspaces to team members.
Manage Client Billing - Enables the Invoicing tab to view, edit, delete, create, and send invoices. Also enables Service Items and Tax Center buttons.
Create/Edit/View Tasks - Allows the role to create tasks and edit/delete any task.
Manage Root Workspaces - Enables the Configure button in the Files tab to create/edit root workspaces. Also requires ‘Manage Clients and Workspaces’ permissions.
Self Manage Timesheets - Enables the Timesheets tab. Allows the role to view, create, edit, and delete their own timesheets.
Initiate Electronic KBA - Allows the role to send knowledge-based authentication when preparing an eSignature. Also requires ‘Initiate Electronic Signatures’ permissions.
Manage CRM Custom Fields - Enables the Custom Fields button in the CRM page.
Set Client Notifications - Enables the Notification column in the People tab, allowing to manage In App and Email notification settings on behalf of individual primary/client users.
Create/Edit/View Projects - Allows the role to manage all projects from the Tasks tab. Also is suggested to enable ‘Create/Edit/View Tasks’ permissions.
Manage Reports - Enables the Reports tab. Allows the role to view existing reports as well as create, edit, and delete custom reports through the Report Builder.
Manage Clients and Workspaces - Enables the People tab. Allows the role to create, edit, and delete clients and workspaces that they have access to.
Client file Upload, Edit - Allows the role to upload files and work on lockable files for the client workspaces they have access to.
My Firm file Upload, Edit - Allows the role to upload files and work on lockable files in the My Firm workspaces they have access to.
Client File operations (Rename, Move, Delete) - Allows the role to rename, move, and delete files in the client workspaces they have access to.
My Firm File operations (Create, Rename, Move, Delete) - Allows the role to rename, move, and delete files in the My Firm workspaces they have access to.
Initiate Electronic Signatures - Allows the role to initiate, edit, and delete eSignatures for the workspaces they have access to. Also enables the signature templates subtab.
Client folder operations (Create, Rename, Move, Delete) - Allows the role to create, edit, and delete subfolders in the client workspaces they have access to. Allows the role to apply, create, edit, and delete folder templates.
My Firm folder operations (Create, Rename, Move, Delete) - Allows the role to create, edit, and delete folders and subfolders in the My Firm workspaces they have access to.
Create/Edit Root Client Dashboard - Allows the role to apply, create, edit, and delete root client dashboards. Also is suggested to enable ‘Manage Clients and Workspaces’ permissions.
Default access to all Client Workspace folders and files - Shares to all client workspaces, allowing to view all clients, folders, and files. Toggling this from on to off will unshare all and any previously-shared workspaces for the team members with this role.
Default access to all My Firm Workspace folders and files - Shares to all My Firm workspaces, allowing to view all folders, and files
Adjust Role Permissions
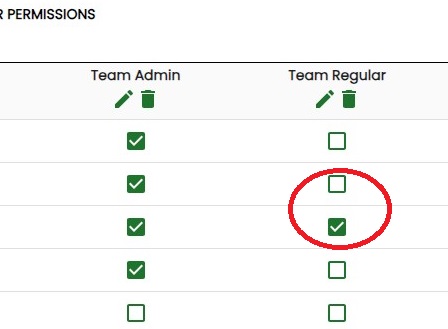
Here is where you can adjust the permissions for your own Team Members or you can click on the 'Client User Permissions' tab to alter the permissions for your clients.
You can modify the permissions of each group by checking or unchecking the associated function in each Role’s column.
Please note: grayed-out boxes indicate permissions that you cannot toggle as they may belong to the highest level Roles (Account Owner, Primary User) and cannot be altered, your current role does not have permission to modify, or they cannot be edited at all.
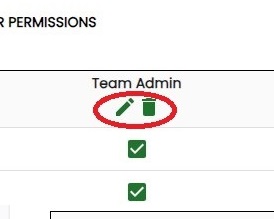
You can also rename each role to your liking by clicking on the pencil icon or delete a role by clicking on the trash can icon below the name.
Create Custom Role
Basil provides you with three adjustable roles by default, the 'Team Admin','Team Regular', and 'Consultant' roles. You can adjust these as you need or you can add a custom role of your own by pressing the '+Add' button to the right.
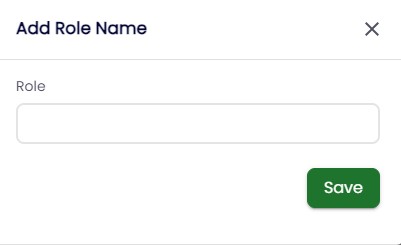
A pop-up will appear for you to name the new role. Once it’s named, it will appear in the list with your other roles. The new role starts with absolutely NO permissions so you will need to set them manually with each permission the new role needs to have. Once done, click on the “Save” button at the bottom.
These same procedures also apply to creating a new custom role for Client Users as well.
Please note: you can only create one custom role for Team Members and one other custom role for Client Users. No additional roles can be created at this time.
Switch Existing Team Member's Role
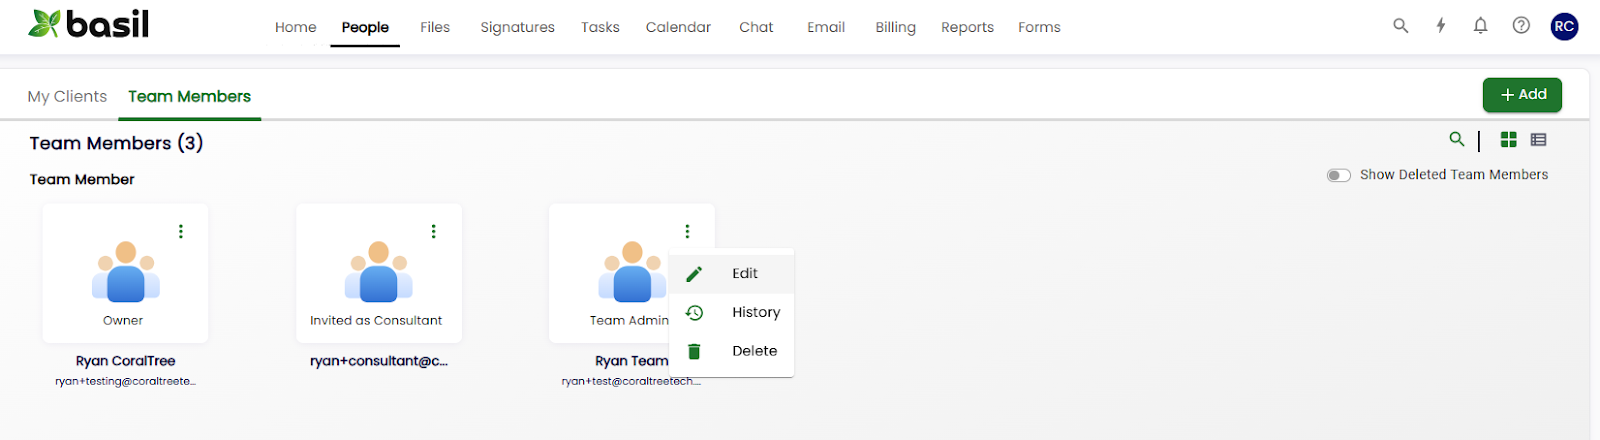
To switch an existing Team Member’s role, first locate the user’s contact information in the ‘People’ tab and on the ‘Team Members’ subtab.
Click the 3-dot menu of the user whose role needs to be switched and select 'Edit'.
On the pop-up window, go to “Role” and select the desired role from the drop-down list. Once the new role is selected press the “Update” button to confirm the role change and give them the new permissions set.
Please note users cannot be switched to or from the Consultant role
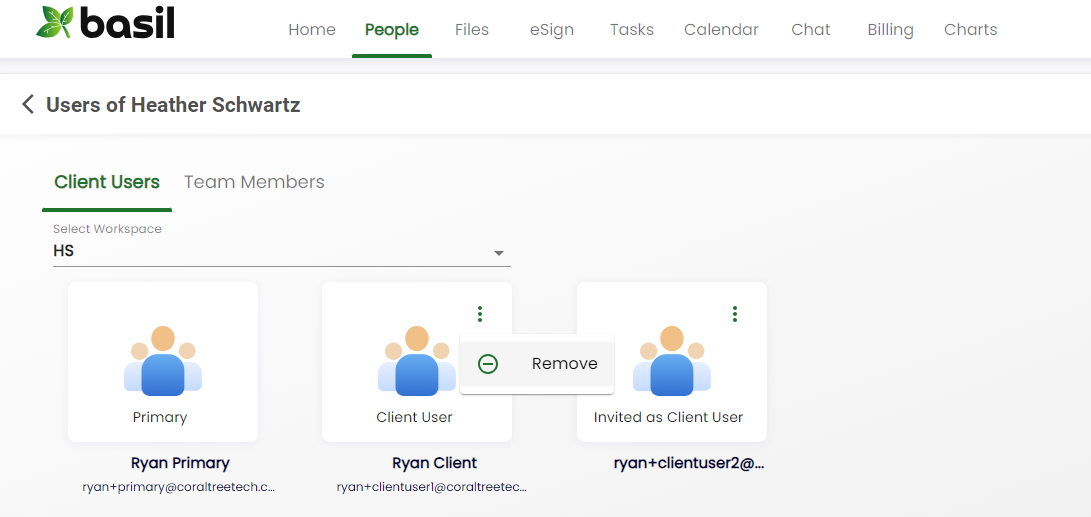
Switch Existing Client User's Role
To switch an existing Client User’s role, go to the ‘People’ tab, click the ‘CRM’ button on the right, locate the Client User, click the three-dot button under the Actions column, and select ‘Edit’.
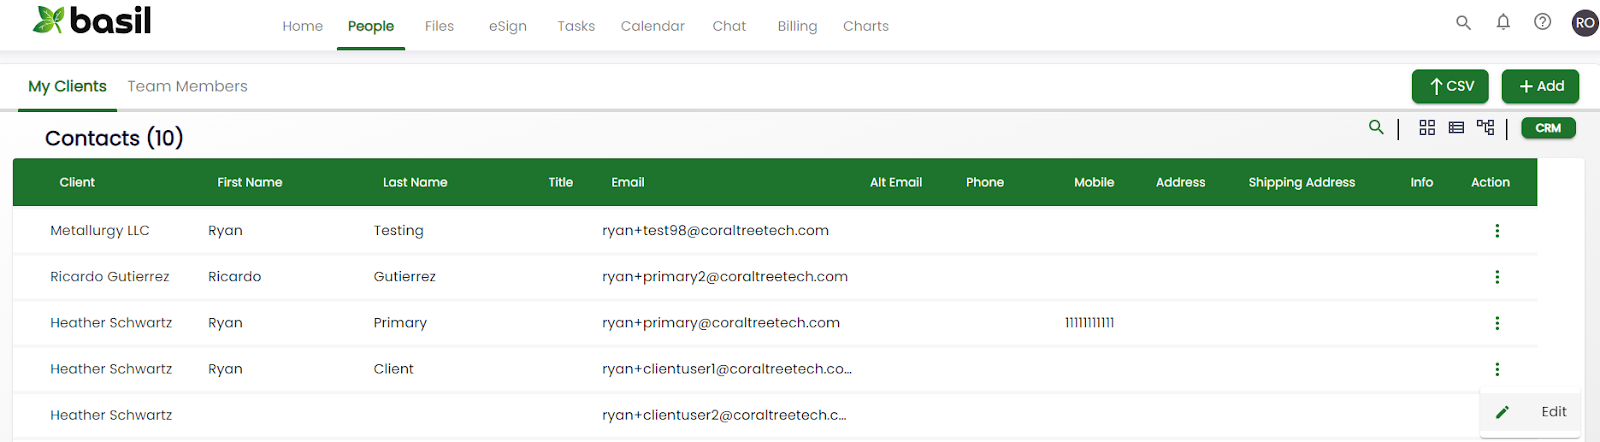
Select the new role from the Role dropdown menu and click ‘Update’.
Alternatively, you can edit the role by reinviting the Client User. First, go to the ‘People’ tab and the ‘My Clients’ subtab. Click the 'Share' option of each client's 3-dot menu, then click the 3-dot menu of the user whose role needs to be switched and click ‘Remove’ and click ‘Remove’ one more time on the pop-up window.
Then click the ‘+Add’ button at the top-right. Under the ‘Invite New Client User’ tab, select the Role, type the email address, and click ‘Send Invite’.