This article is intended users under the Basil Advanced plan. Basil Simple users can refer to this article.
Creating a Filtered View
Basil Practice Management allows you to sort and view tasks that have been created in a similar way that spreadsheet programs allow you to filter your data columns. You can sort and filter tasks in the Task ‘Spreadsheet’ View only.
To access the Task ‘Spreadsheet’ View, click on the ‘Tasks’ tab of Basil and then select the Spreadsheet View option from the view options three-dot menu at the top-right.

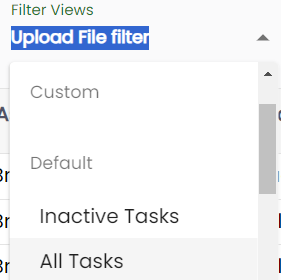
If you wish to see all of the tasks you’ve created and assigned, you can click on the 'All Tasks' view from the Filter Views dropdown.
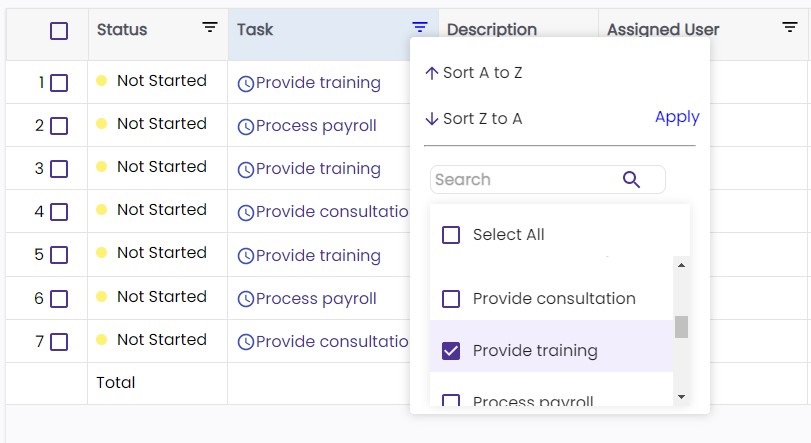
While in Spreadsheet View, you can click the sort/filter icon on any of the columns to see available options. Select the option(s) you would like to see. Once you have made your selection(s), press 'Apply' in the drop-down menu to activate the filter. This allows you to sort the list of tasks by only what you are looking for. In this example, we'll filter for 'Provide Training' tasks.

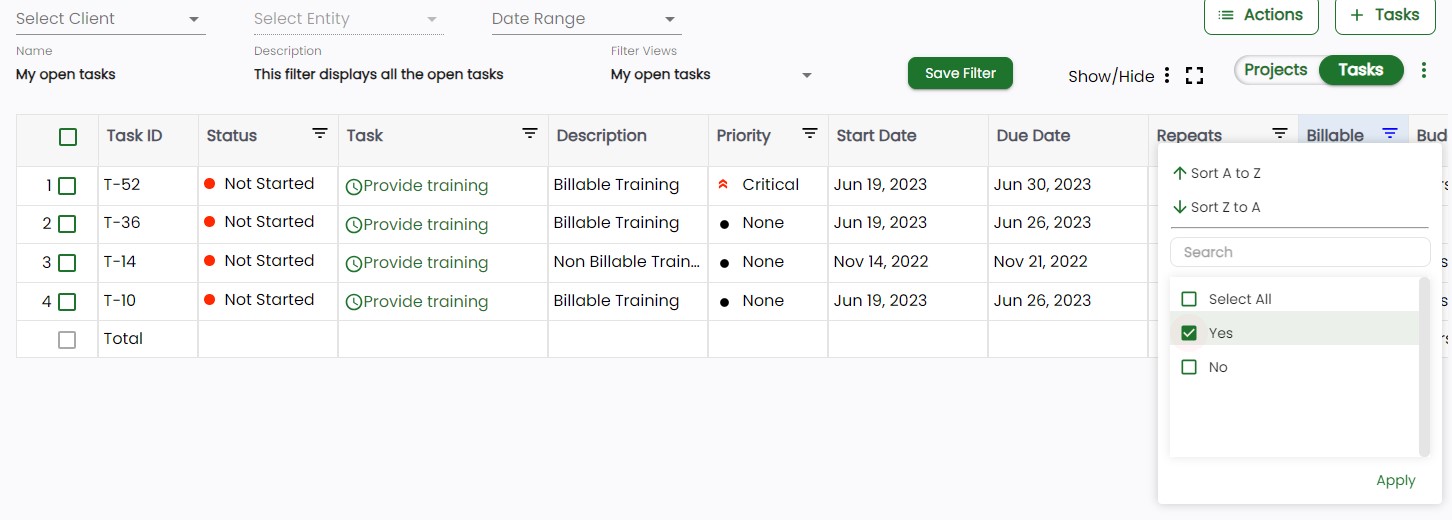
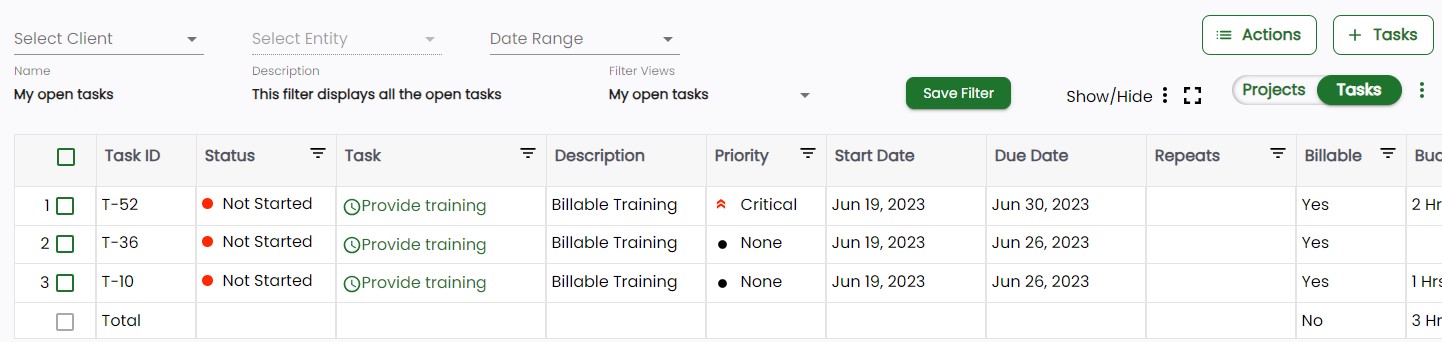
With the 'Provide Training' filter active in the ‘My open tasks’ view we will only see training tasks that are currently waiting to be completed.

You can also use more than one filter at a time. In this example, we add another filter to this list by filtering for only those marked 'Billable' using the Billable column. Now, only Provide Training tasks that were marked as Billable will appear in the list.
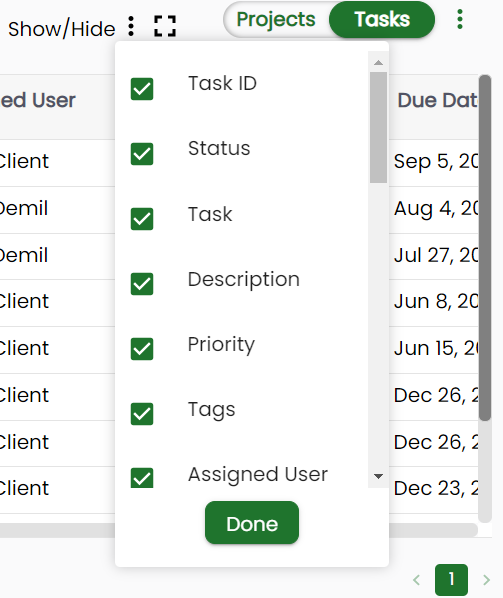
While you are looking at your filtered data, if you do not wish to see certain columns because there is no data or you simply do not wish to see them at the moment, you can hide them. To hide unwanted columns you can use the ‘Show/Hide’ three-dot menu on the top right of the table.
Saving and Viewing Your Custom Filter Views
If you find that you are filtering your list often for particular information, you can easily save the filtered columns as a preset view for you to use later.
First, you want to filter the columns as desired. In this example (same as above), we are filtering for 'Provide Training' tasks and only those marked as 'Billable'.
Once the list has been filtered, you can click on the 'Save Filter' option above the list of tasks.

Please note: if you are adding more filters to a previously saved filter view, you will be prompted to either save this filter as new or update the current saved view.
For this example, click ‘Save as New’. The Save Filter window will pop up. Give your filter a name and description so you know what this will filter for. When finished, press 'Save' to save the filter.

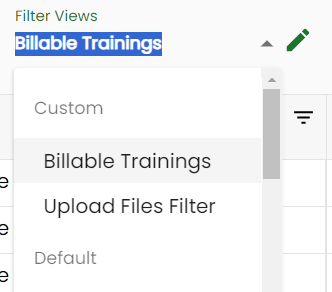
As soon as you click 'Save' the window will disappear and the filter will be activated. You will notice at the top that the Filter View name has now changed to your newly created filter view. The description has also changed to match what you entered. The 'Filter Views' menu will also reflect that this is the currently active filter.

Now that you have saved this filter, it is available anytime you wish to access it. To view this filter in the future, you'll come to the ‘Tasks’ tab, select the ‘Spreadsheet’ View, and open the 'Filter Views' drop-down menu. Next, select the filter you wish to apply. Any filter you create and save will be under the ‘Custom’ heading. Clicking on the filter name will immediately switch to the selected filter view.